How to Organize Drawers: Drawer Organizing Ideas to Apply to Any Room in the House
Get the organized drawers you dream about with this mega list of drawer organizing ideas and tips that can be used for any drawer in your house, from the dresser to the kitchen.

Would you like to save this?
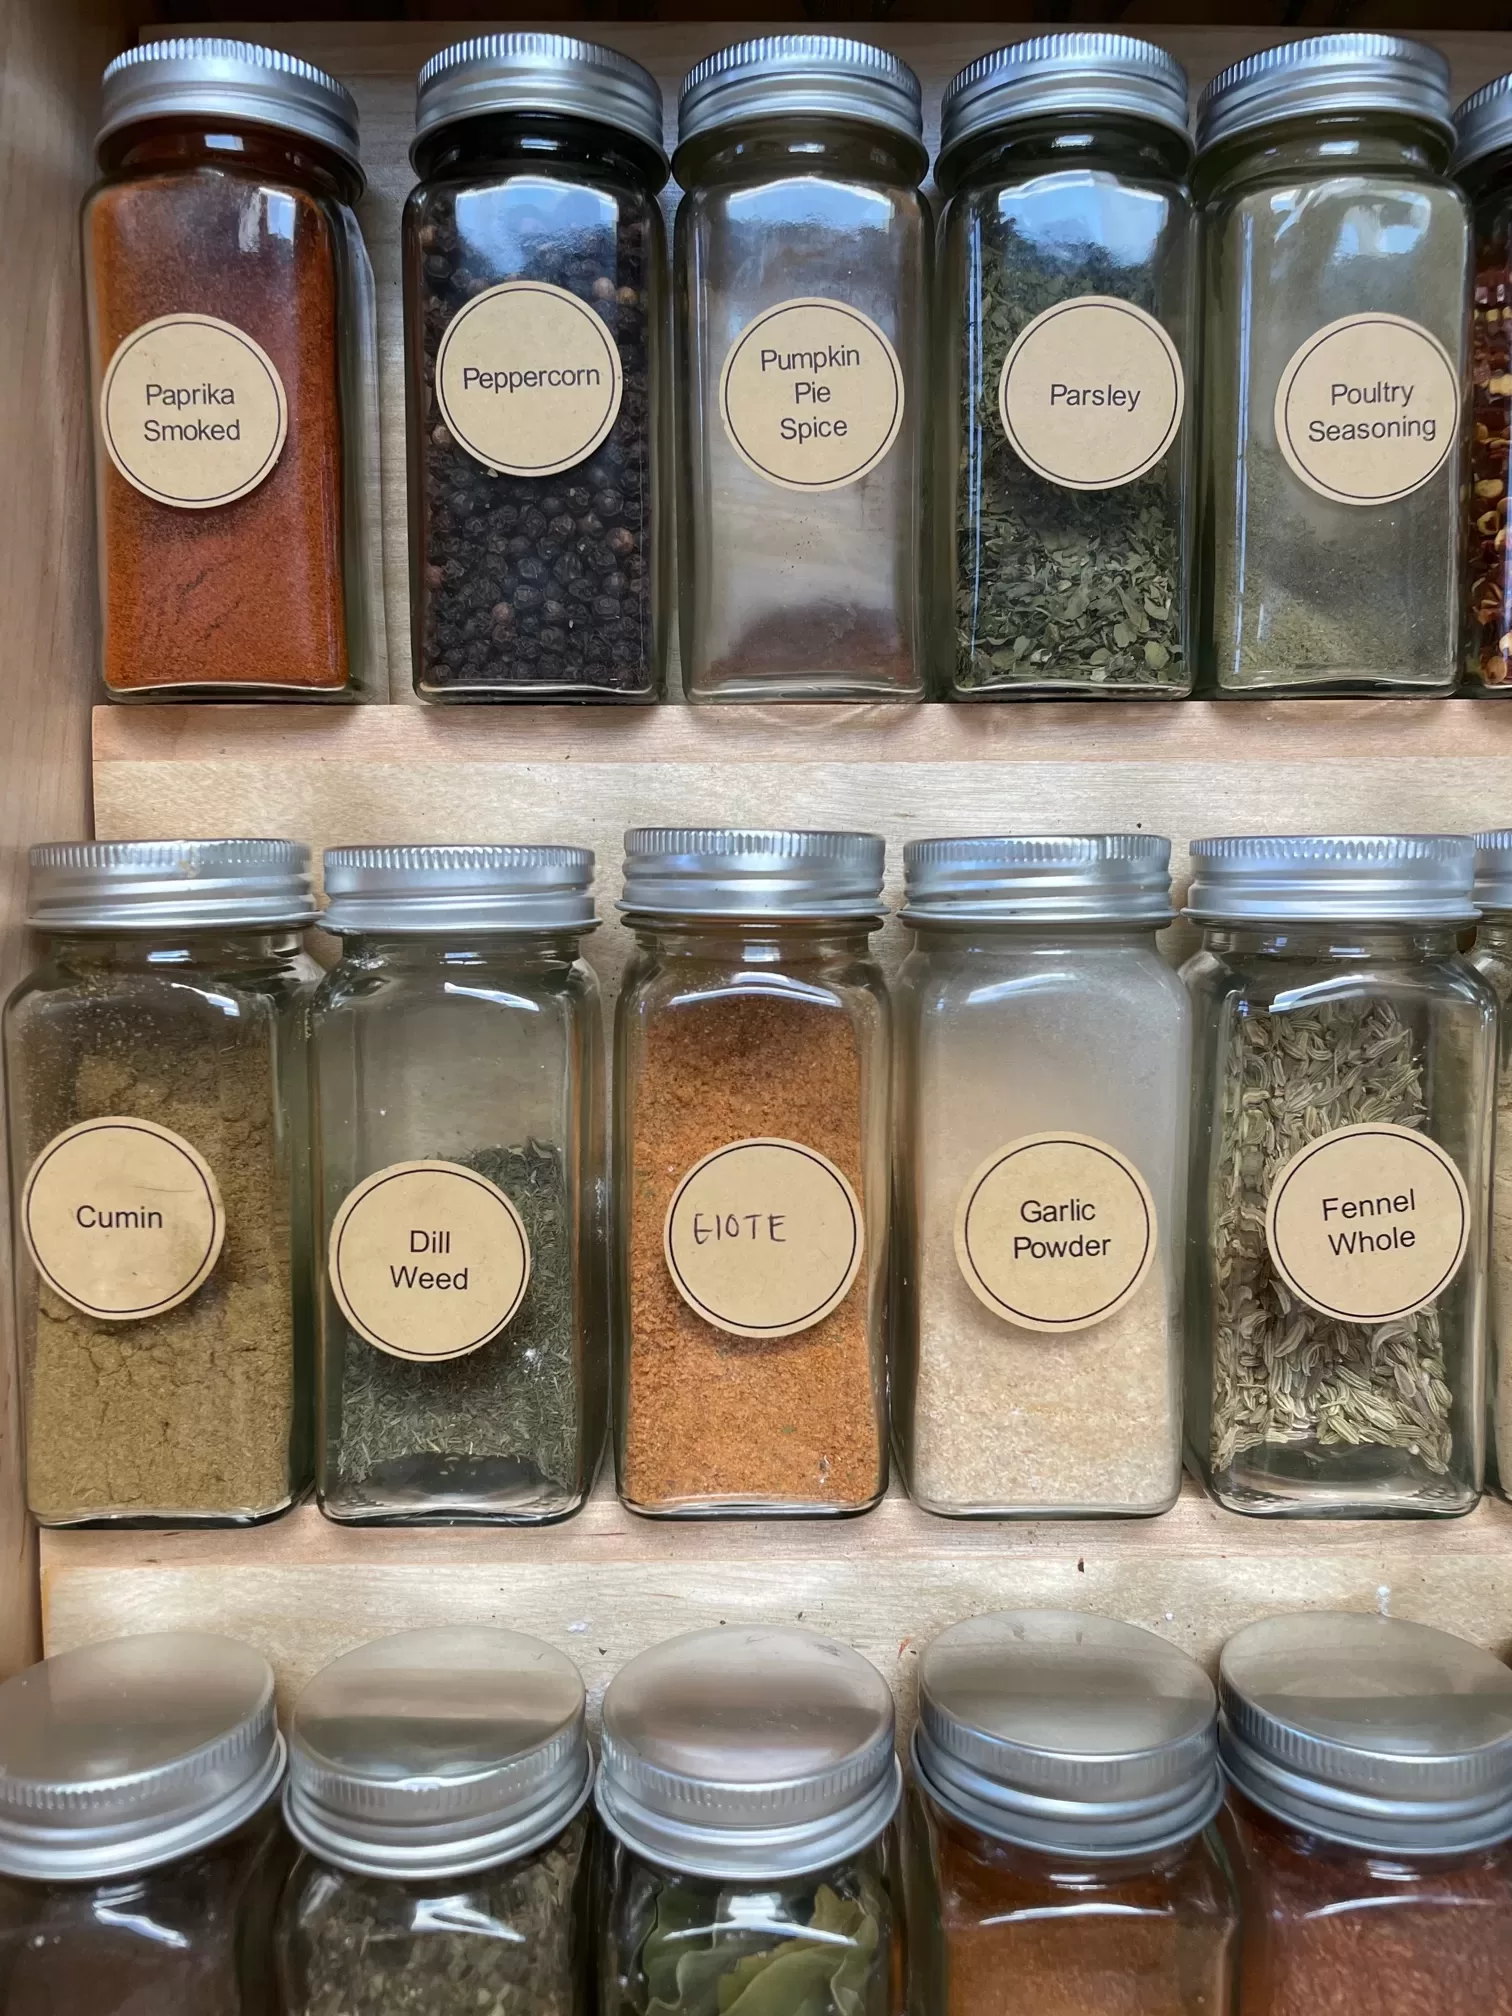
Drawer organizing ideas might not be the sexiest of home projects you can tackle, but I’ll tell you what: It’s one of the most satisfying. (And oddly enough, my well-organized drawers and cabinets are one of the things guests always comment on when they come to my home, say, and I happen to open up my alphabetized spice drawer.)
For a long time I didn’t really care much about how the inside of my drawers looked. Or maybe I cared but just didn’t have the motivation to do anything about it.
I ended up tackling drawer organization as one of my many Covid home projects, and once I got the taste or that organized drawer life, I pretty much organized every drawer in my house.
Full disclosure: my drawers aren’t perfect. My Marie Kondo folding techniques are a little sloppy, and I didn’t go out and buy $7,000 worth of matching acrylic containers (I did buy some, though!), so you won’t see any photos worthy of The Home Edit here. But my drawers are neat. And functional. And they’ve been like that for a few years now, which I think is qualification enough to share a few things I’ve learned about how to organize drawers.
Here, I’m sharing the process I use to clean out and straighten up any drawer, but I’ve also linked to articles for room-specific drawer organizing posts throughout the article, below.
How to Organize Drawers Step by Step
Before I dive into how to declutter and organize any drawer in your house, I just want to emphasize the that the key to keeping drawers organized in the long run is to prioritize functionality, and create systems so your hard work sticks. Don’t get hung up on how perfect it looks. We’re going for neat and practical, here.
1. Make a plan
If you can, it’s best to have a loose plan for your organizing efforts. That means choose a time when you’ll have an uninterrupted hour or two, and decide which drawers you’re going to start with.
If you get overwhelmed by the thought of tackling even a few drawers in your home, or you can never find a couple of hours to tackle your organizing, you can try breaking the task into smaller steps. For example, de-cluttering the drawer and cleaning it one day, then coming back to it to organize at another time.
That said, I sometimes will also impulsively organize because I’m standing at my junk drawer and I get overcome with motivation because it looks so bad, and I just straighten it up on the spot, which also works 🙂
My Favorite Drawer Organizers

2. Empty and Declutter the Entire Drawer
The first real step in organizing any drawer is getting rid of anything that’s not supposed to be there. It’s time to dump or drag everything out of the drawer and go through it. This is my favorite part.
As you’re emptying, set up five different piles/boxes to decide what to do with the stuff.
1. Keep: Any item that you use or enjoy. You’ll categorize and store these items later.
2. Donate: Whatever you don’t have a use for or like as long as it’s in good condition.
3. Upcycle: Items that you have a special attachment and/or can make into something more useful or enjoyable. (Think baby clothes to turn into a wall hanging or blanket or stuffed animals, etc.)
4. Recycle: Check your local recycling rules, but most textiles are recyclable as long as they’re clean.
5. Trash: Toss anything that’s broken and/or not recyclable or fit for donation.
3. Clean the Drawer
Now is the perfect time to do a deep clean or a quick wipe-down of the drawer, before you restock it.
Depending on the drawer, you can probably get away with the following tasks in less than ten minutes:
Vacuum
If it’s not too messy, a quick vacuum will do. If it’s been a while or a drawer that stores food, make sure you get all the corners vacuumed. A crevice tool works well for this. If that doesn’t do the job, try gently scraping any residue out of the corners or crevices with a butterknife or scraper tool.
Wipe clean
Most drawers tolerate a simple damp cloth with vinegar, mild soap, or even just water. Make sure you don’t get it too wet and allow plenty of time to air dry after wiping it with a drying towel, especially if the drawer is unsealed wood.
Disinfect
If you feel like your drawer needs it, you can disinfect, too. Again, you’ll want to make sure whatever method of disinfecting you’re using is safe for your drawer. Again, just make sure you allow the drawer to dry thoroughly.
Now onto the fun stuff: organizing!
4. Group Like Items Together
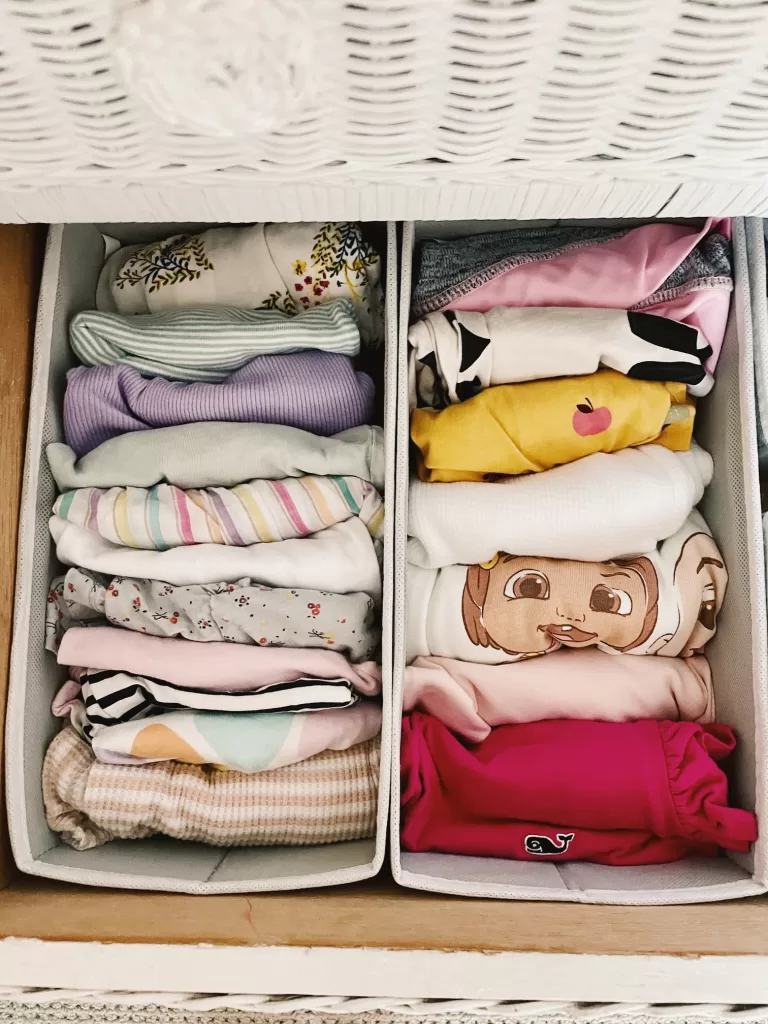
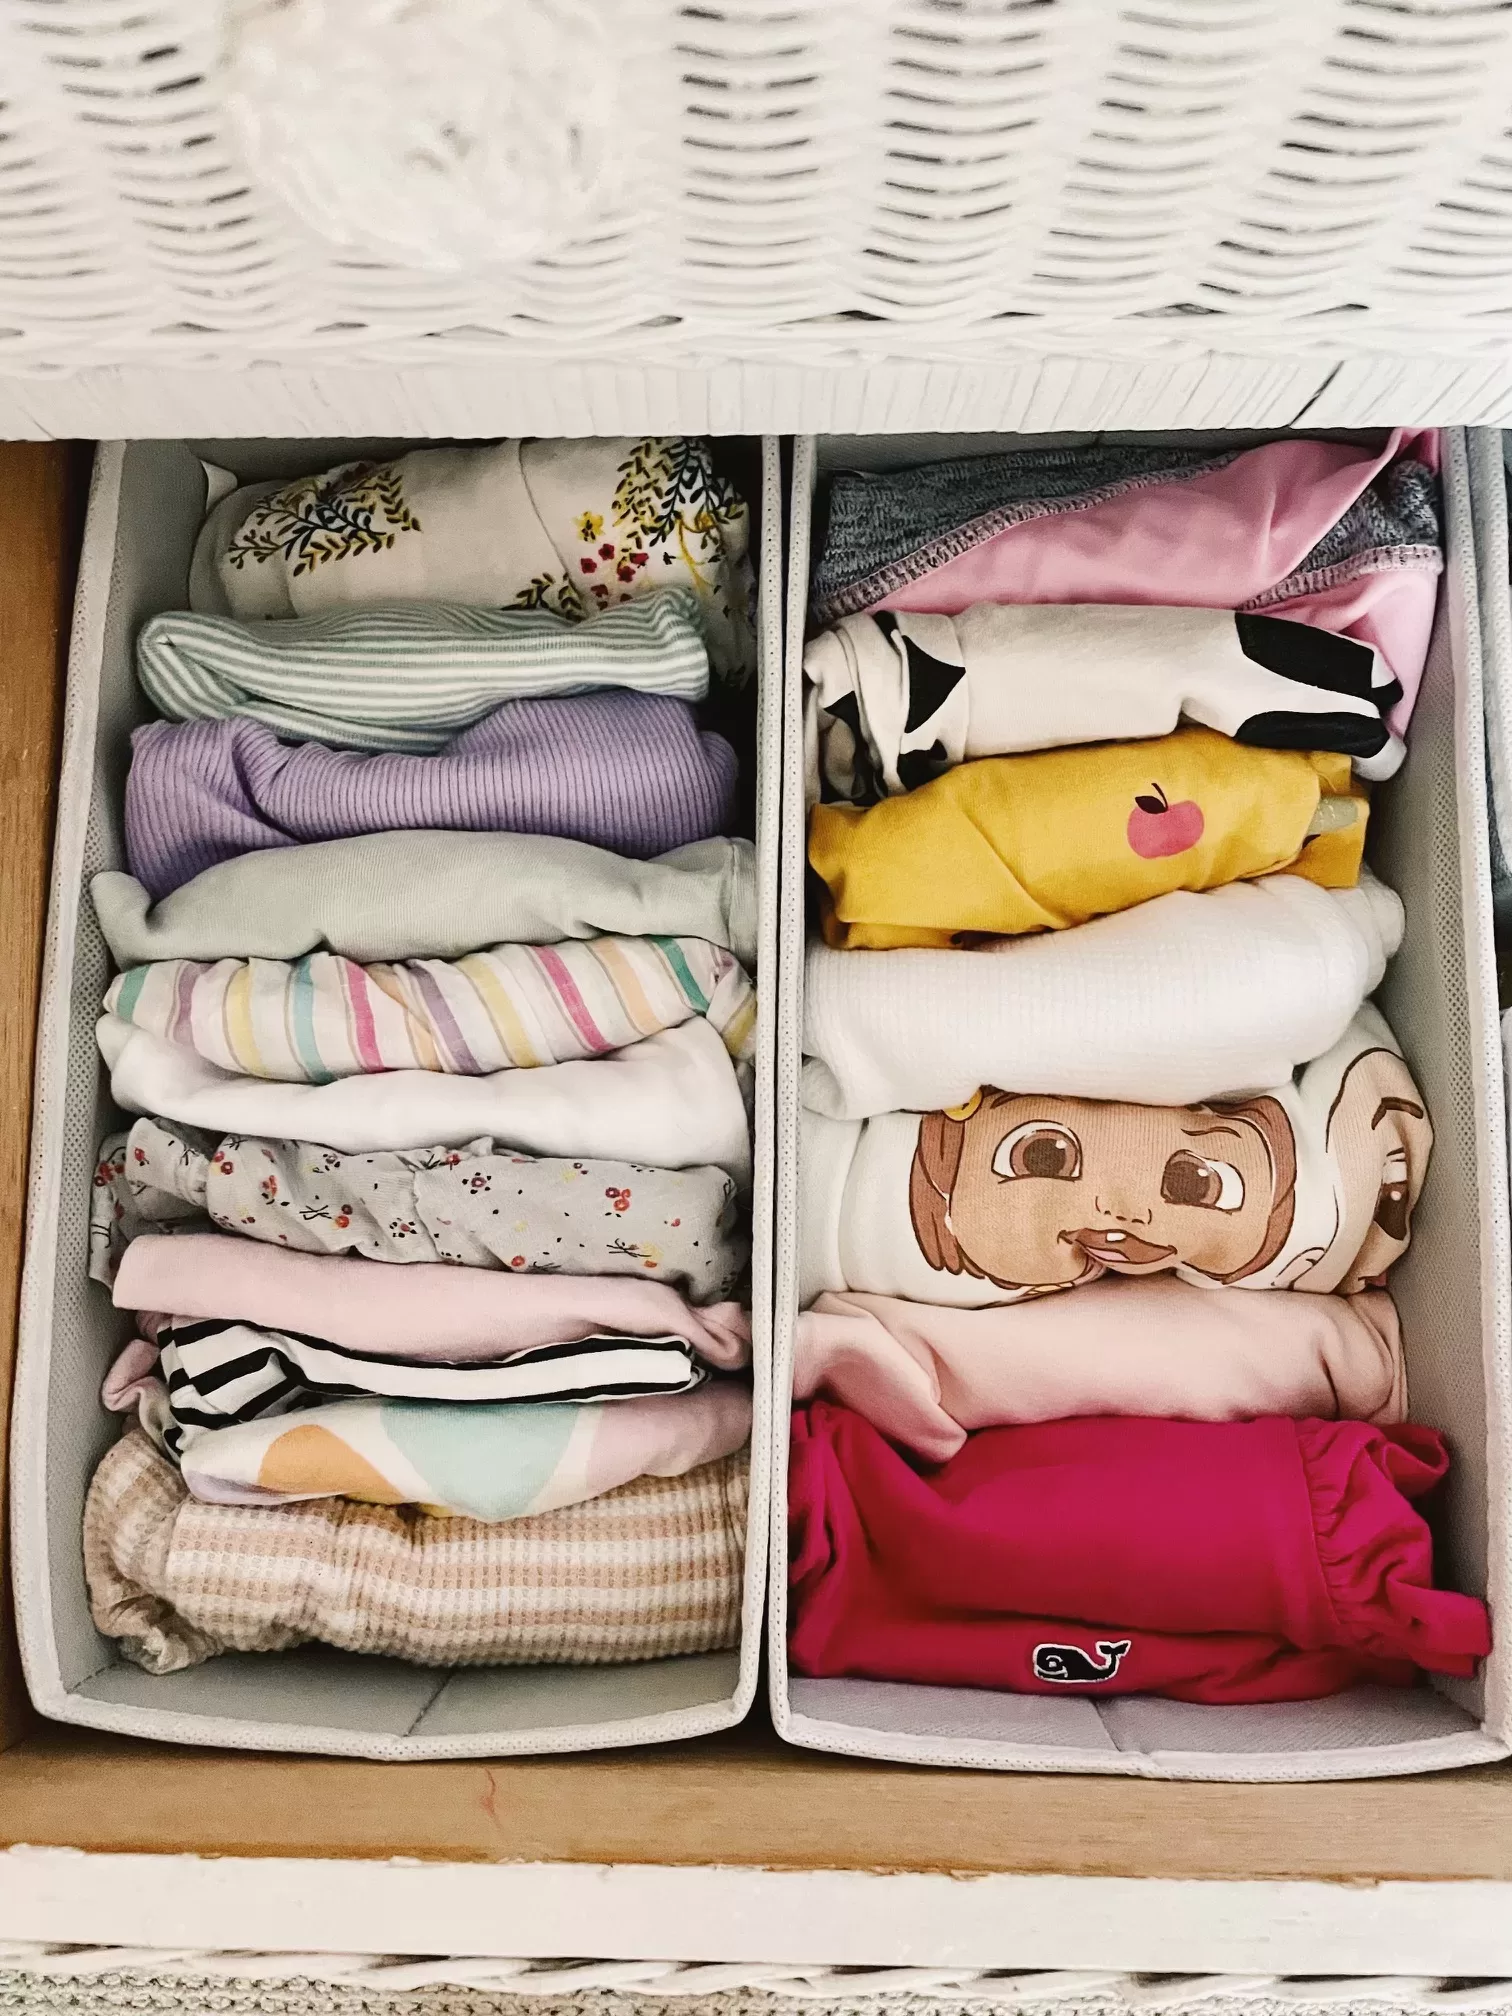
The basis of a well-organized drawer is grouping like items together. You can make this as simple or as detailed as you want. For people like me, grouping all of my socks together in one area of my drawer is enough. If you like more detailed organization, you can also break down that pile into specific colors or lengths of socks.
For larger clothing items, like pants and shirts, I designate one drawer (or more if necessary) per category.
5. Consider how often each item is used
The most functional drawers are organized by how often the contents are used and the order they’re used in.
The general rule of thumb is to put your go-to items in easier to reach places, and less-used items in harder to reach ones. This can man putting most-used items the front of the drawer and the less-used items in the back, or putting the less-used items in a drawer or area that’s harder to reach.
For example, if you have a drawer dedicated to athletic wear, and you go for a walk every day but only plan tennis twice a month, put your leggings up front and the tennis gear in the back.
Another way to categorize groups of items by use is using a left-to-right or front-to-back strategy according to the order they’re used in.
For example, storing your undergarments on the left side and your socks on the right just makes more sense considering the process. The same concept can be applied to the makeup drawer, too. Primer, foundation and application sponge, setting powder and brush, and so forth.
6. Place Storage Accessories, Label, and Arrange Items

This is probably the most satisfying part of the entire process and the one that’s usually trending on social media. It’s time to get or make some storage accessories, label if needed or desired, and finally place everything in the drawer.
Don’t go out and buy those accessories just yet! Take a quick look at your items, test their storage spots first to make sure it all flows well, and get some measurements for storage and dividers. From there you can buy some or make your own.
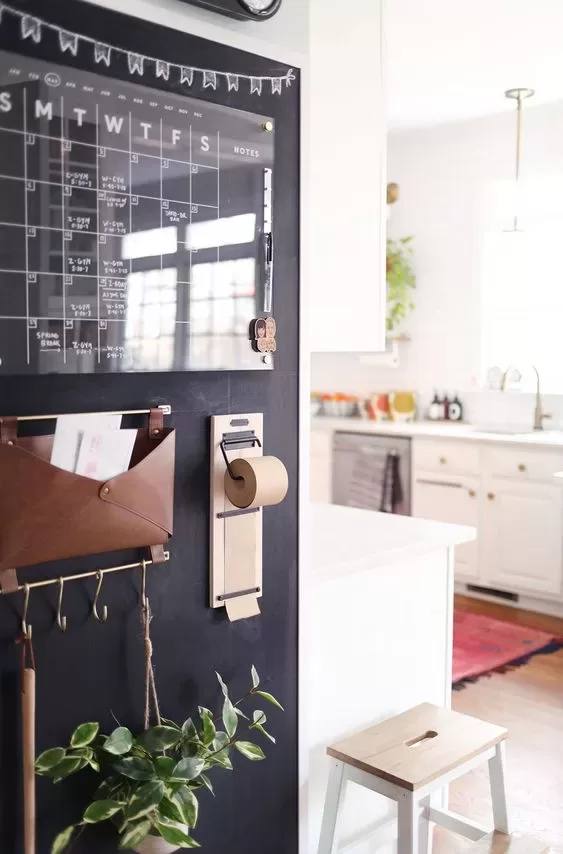
Labeling isn’t necessary for every drawer, but it can be a helpful tool for drawers that tend to get cluttered fastest like junk drawers. It’s also a helpful method for someone else in your home, like babysitters or house cleaners, or guests who may not know where to look for things. You can use simple masking tape and a sharpie, buy or print labels online, use a vinyl machine, or a label maker.
7. Put Everything Back in Its Home
Now is the final step: it’s time to finally put everything back in its new or improved order. If you have storage accessories, you’ll need to put those in place first, making sure you know where things will be going. Then take those grouped items and arrange them all in the drawer, and rearrange as needed until it’s the organized drawer you need it to be.
8. Fine-tune if needed
Organizing is an ongoing process, even right down to little areas like drawers. Try to stick with your new layout for a couple of weeks and fine-tune it as needed. You shouldn’t force any kind of organizational system if it’s not working, but some things just take time to get used to.
If you don’t love your system, tweak it! There’s no rule saying that you have to get it right the first time.
9. Maintain your systems
Organizing isn’t a one-and-done thing, and you’ll need to keep working your systems to ensure they stick. This looks like making sure you put things back where they go, and tell the other members of your family to do the same.
I also regularly re-straighten my drawers as needed, but this takes 1-2 minutes instead of 1-2 hours. I tend to straighten up my kids’ clothing drawers every few days when I put away the laundry, but because I’m doing it on an ongoing basis, it takes me a few seconds for each drawer.
Some people also like having set rules like the one-in and one-out method where (as the name implies) you get rid of a like item if you get a new one. This is a good rule for items that tend to pile up, like socks, underwear, or even hair ties!
How to organize types of drawers
Different types of drawers require different organization strategies. Here are a few common variations and what I suggest for each.
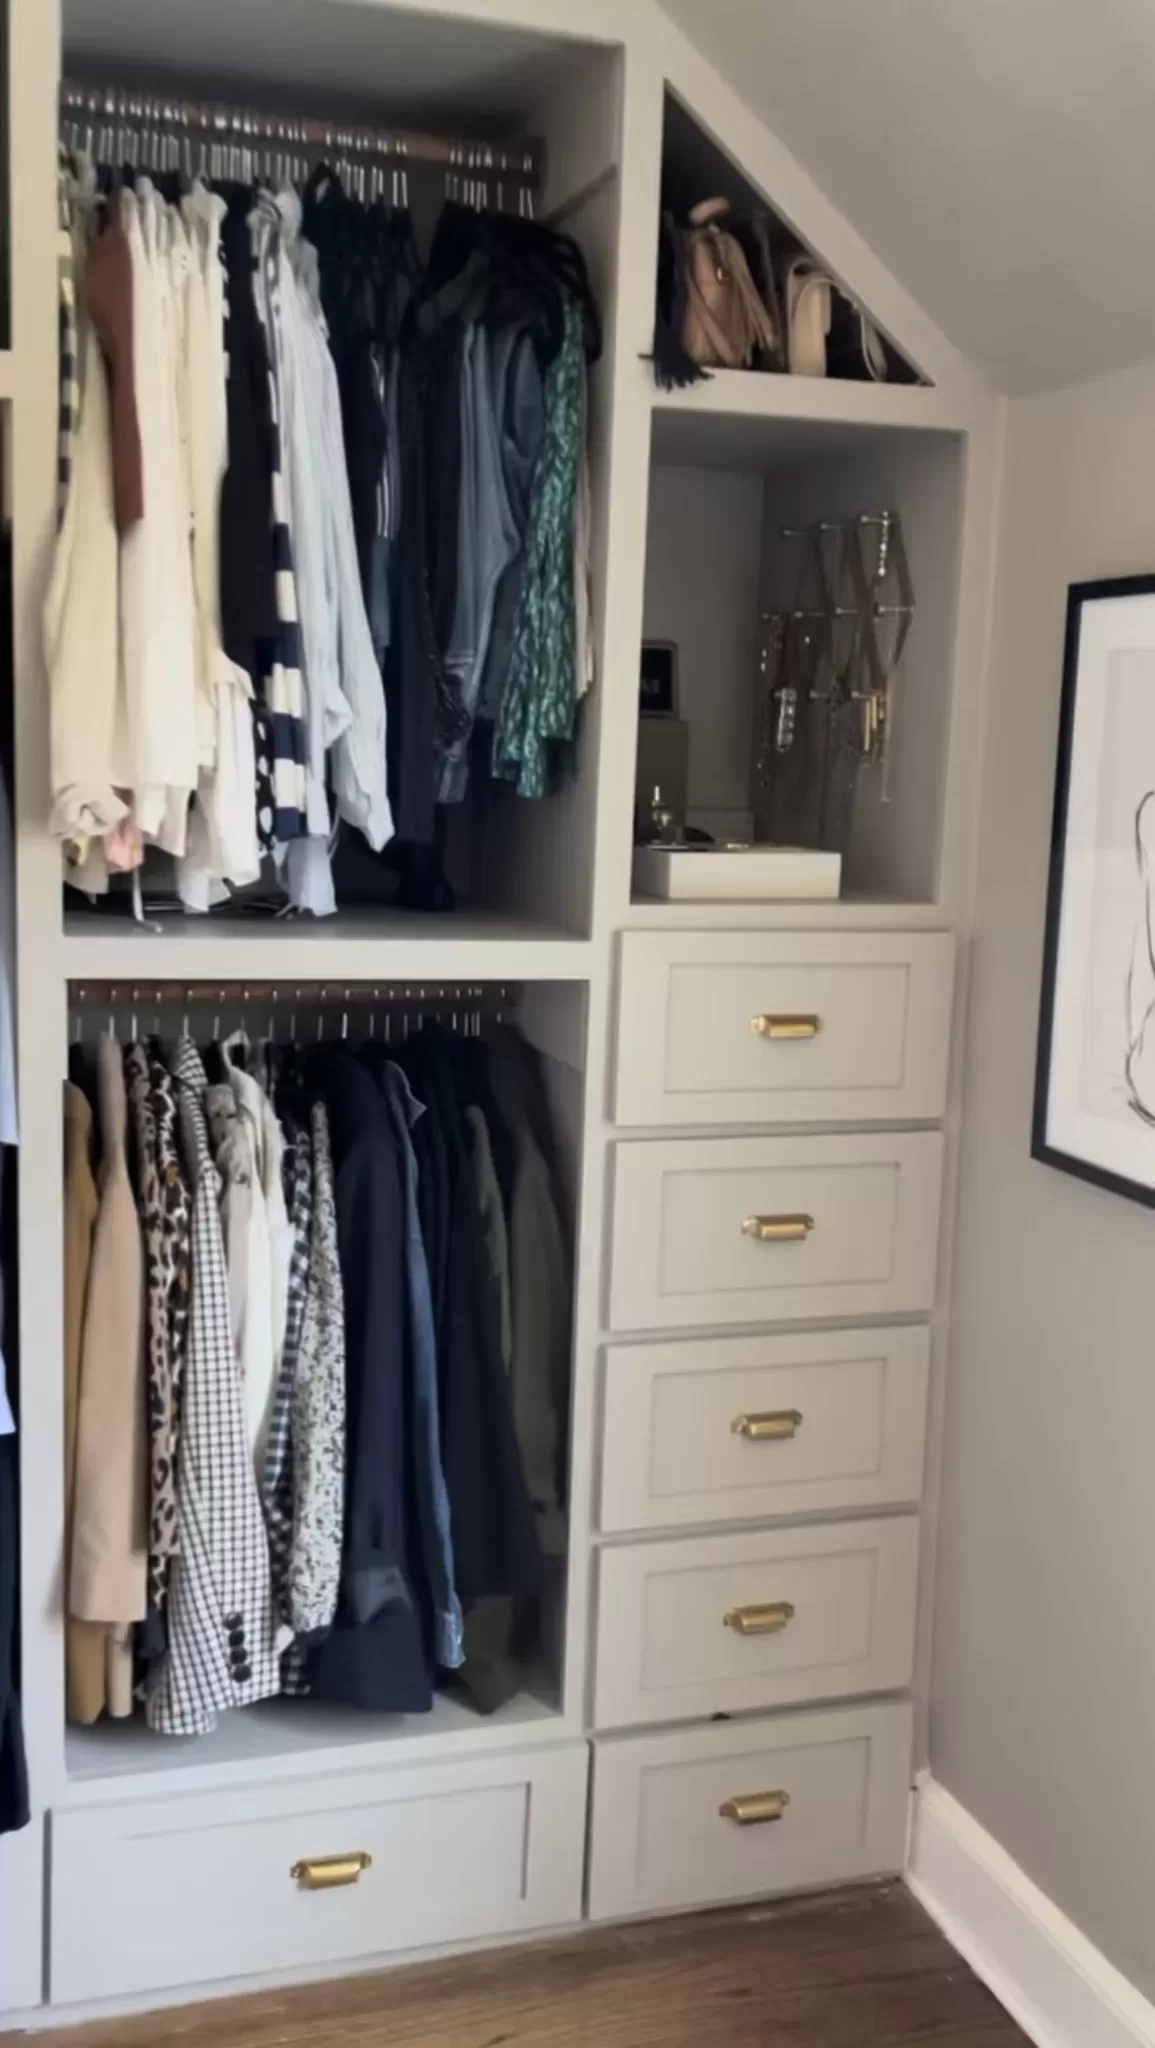
How to organize deep drawers
Deep drawers are both a blessing and a curse when it comes to organizing. They offer lots of space and potential, but they can quickly get packed full of things that just end up buried. A good system for deep drawers is a must.
Peg systems and dividers
One of the best ways to organize a deep drawer is to use peg systems or other types of dividers that keep items upright. This kind of system works best for dishes (especially storage and meal prep containers and lids), pots and pans, and similar bulky items. There are better options for other things that get lost easier, though.
Trays and expandable shelves
There are many storage accessories that have been designed just for deep drawers, like stackable trays, pull-out organizers, adjustable bins, and so on. This is better if you’re using the drawer to store smaller items.
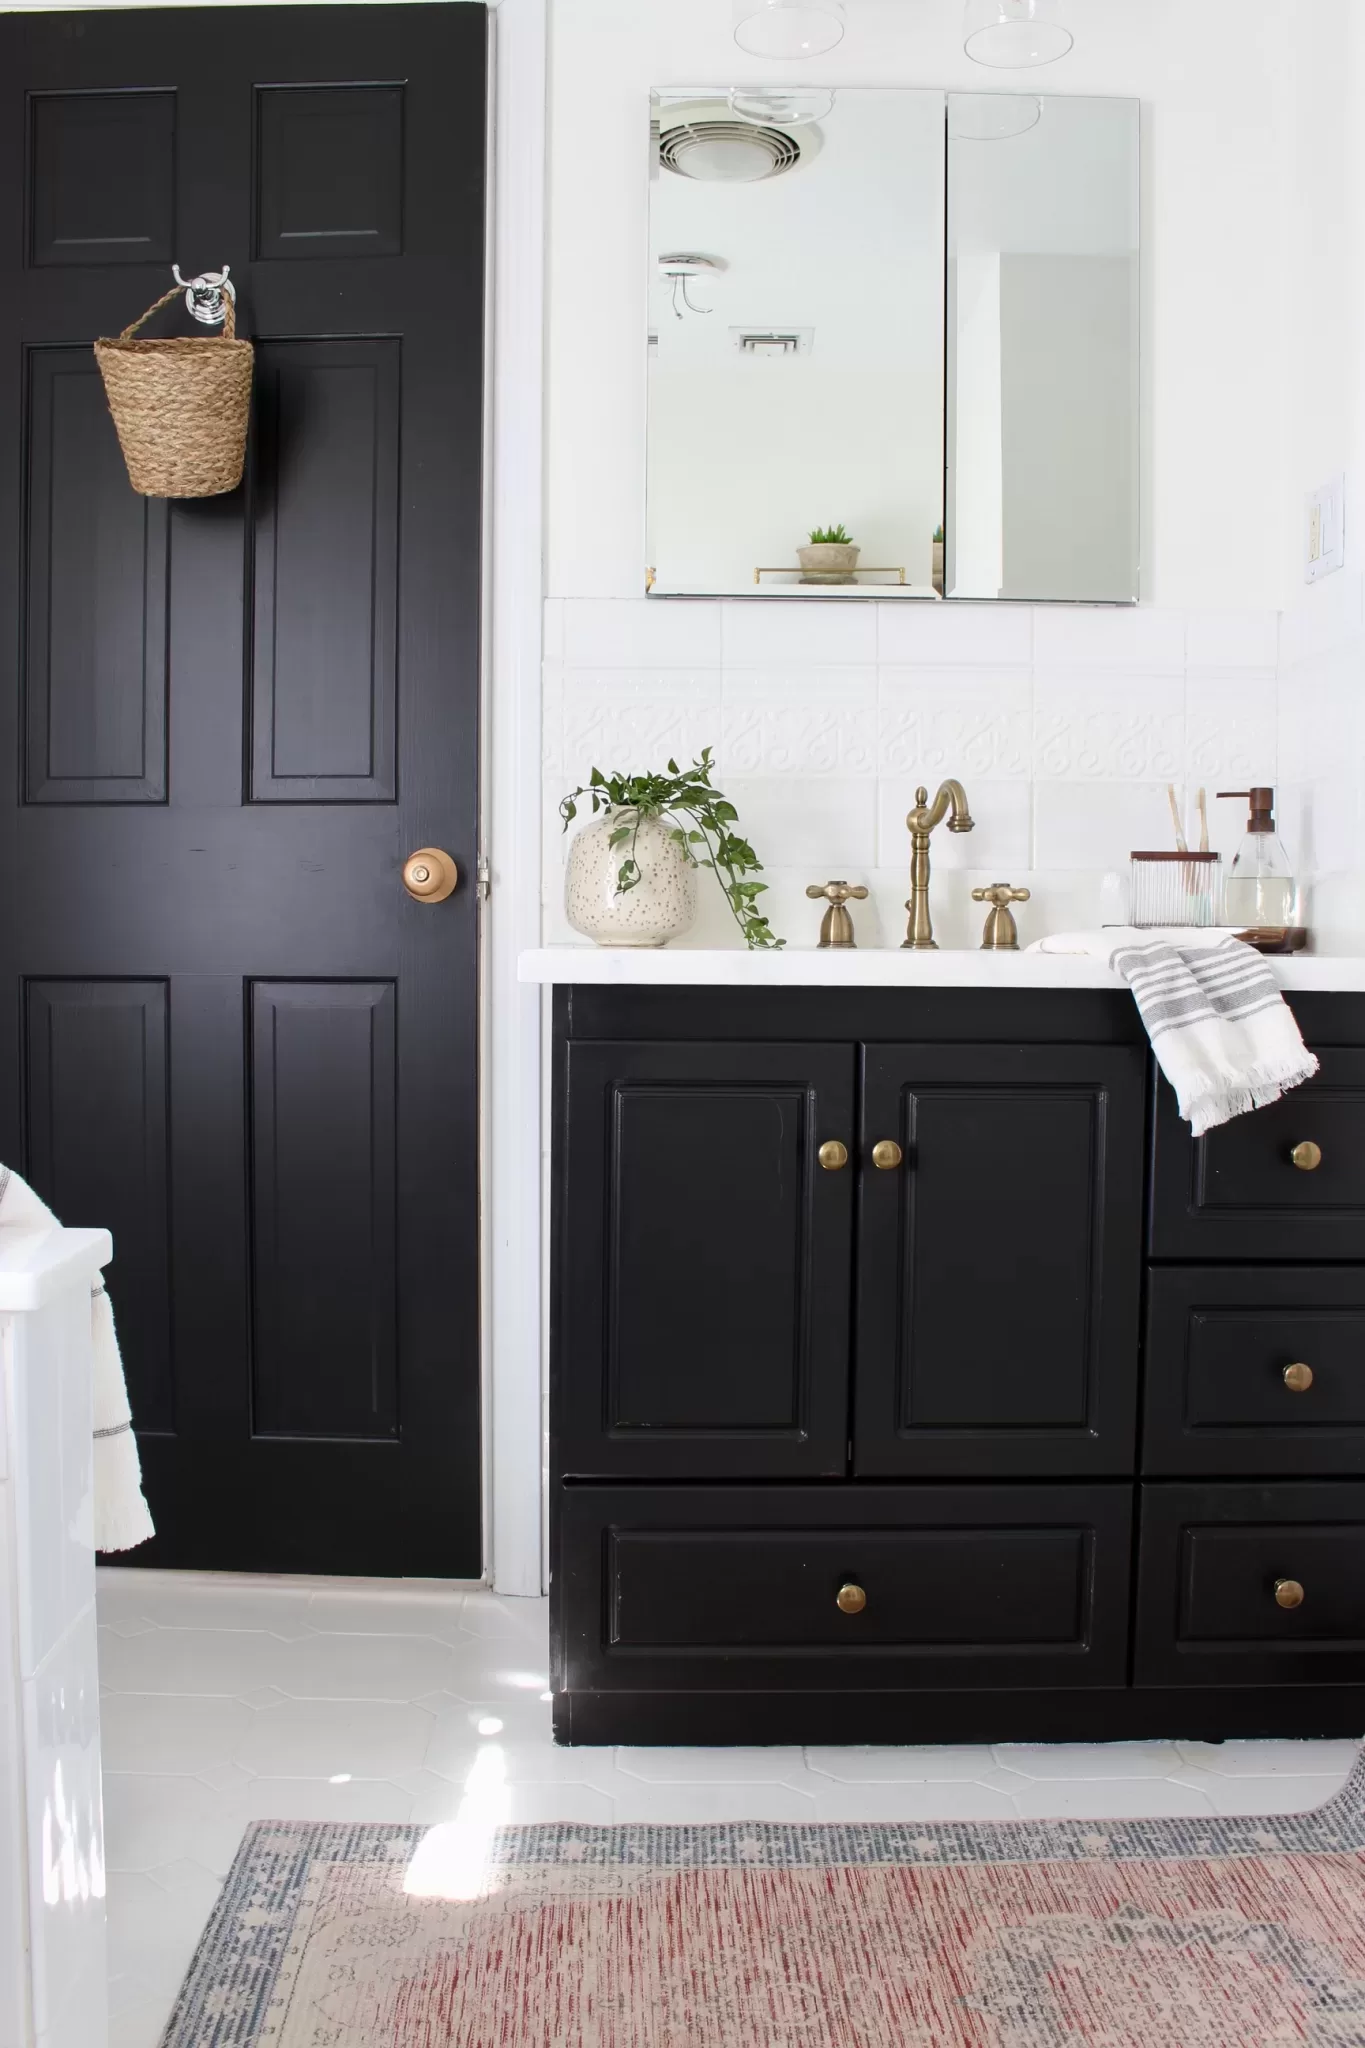
How to Organize Corner Drawers
Unfortunately, corner drawers are usually the hardest to organize unless you’re using specialty organizers or DIY ones.
Wedge corner storage bins
The easiest way to organize most corner drawers and cabinets is to use wedge corner storage containers that fit right up into every angle that square or round baskets can’t. This optimizes your space the most, especially if there’s room to stack them.
Pull out trays and shelves
As mentioned earlier, pull-out trays and shelves are another great options if the drawer allows them–and if it makes sense for what you’re storing.
How to organize drawers without organizers
Organizing can no doubt get expensive with all the bins and dividers and other storage accessories. There are so many ways to organize drawers without buying organizers or storage accessories. Items like socks and shirts technically don’t need their own bins or even dividers, as long as they’re laid out in lanes and kept tidy.
If you’re organizing smaller items, or you prefer to keep your items grouped together in containers (I do!), repurpose items you already have at home into organizers.
You can easily make dividers and baskets using cardboard boxes and other similar upcycled materials. You’ll simply need to measure the drawer and take the layout into account, cut the cardboard accordingly with a box cutter, and then you’re ready to organize.
For smaller items, you can repurpose small boxes, jars, takeout containers and so on. Clean egg containers, for instance, make a great organizer for small objects like earrings or pins. You can also use cardboard cut to size to make drawer dividers.
Don’t let not having trendy acrylic organizers keep you from getting more organized drawers!
One Comment