$700 Bathroom Makeover Reveal [ORC Week 8]
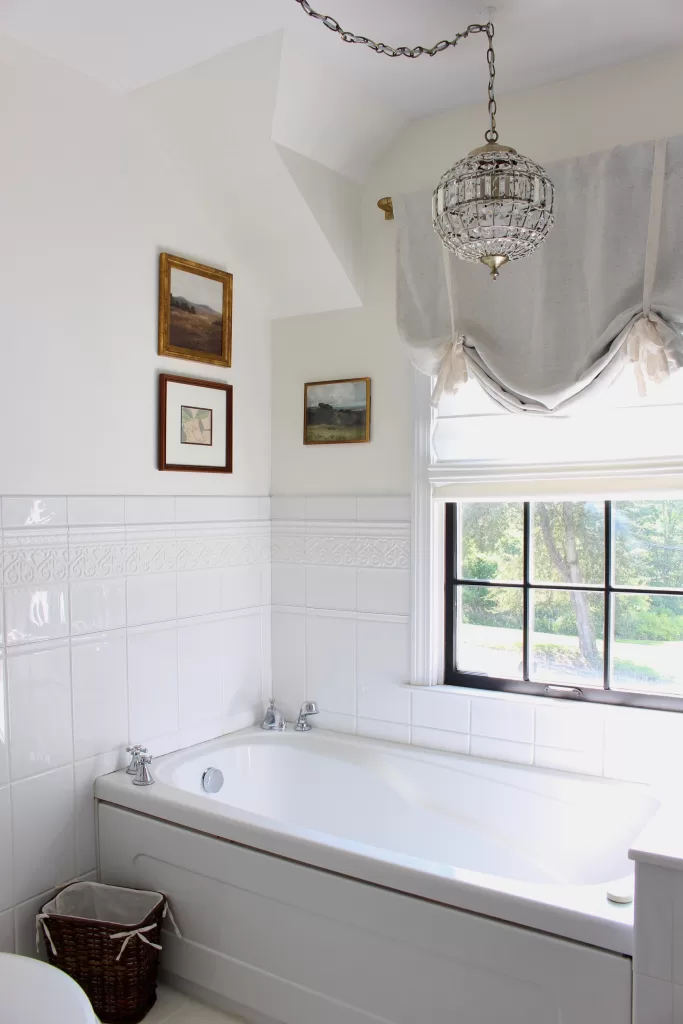
Our bathroom is finally done! After eight weeks of painting, lacquering, and general zhushing, it’s time to reveal our $700 bathroom makeover.
As I mentioned in the first post about our bathroom plans, we’d lived with an ugly bathroom (our primary bathroom, no less) for nearly five years. After tackling many, many other projects in our 1930s home since we moved in, including a major first floor remodel last year, I knew this bathroom wouldn’t get its full makeover for at least a few more years.
Enter: Operation bathroom glam squad. Or as my husband says, it was time to put some lipstick on this pig.
I wanted to make the bathroom look as good as possible for as little money as possible, knowing that in a few years we’d probably rip the whole thing out. So, everything we did to the space was cosmetic.
Before we jump into what I did and the afters, lets take a jog down memory lane.
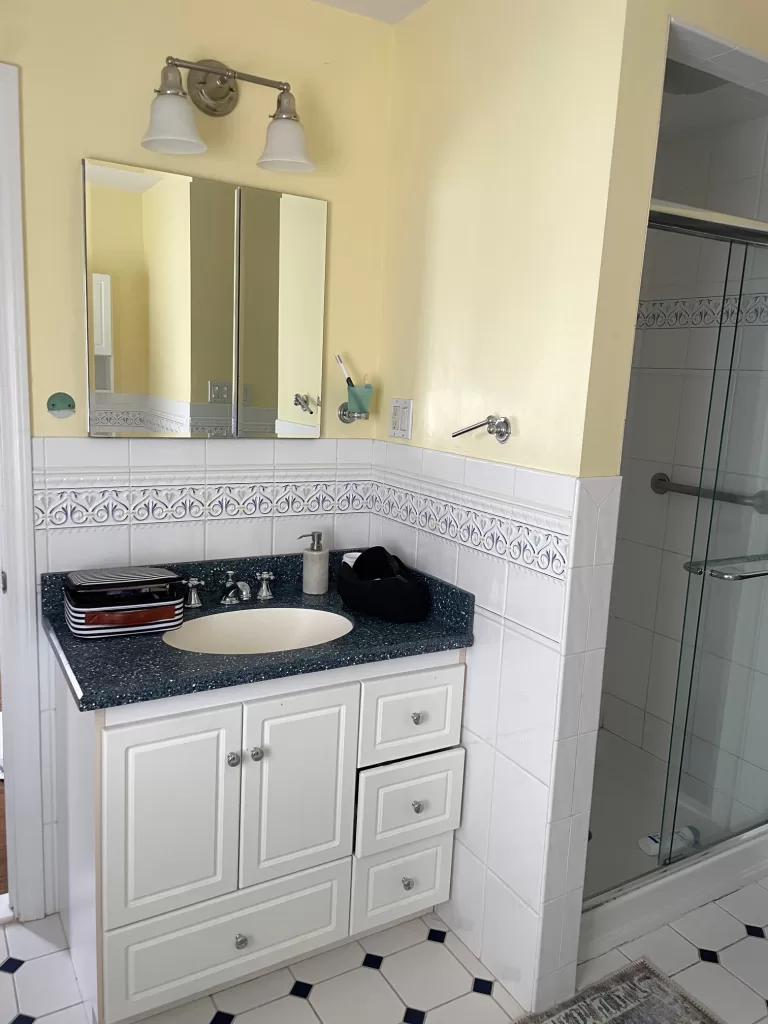
This is the original vanity, complete with a blue terrazzo top. Note the broken wall mirror and toothbrush holder.

Here’s a nice shot of the floral detail on the wall tile, and blue-studded floors.

The yellow color was just never for me.

This is what the bathroom looked like the day I started its makeover journey
And here’s what it looks like today!
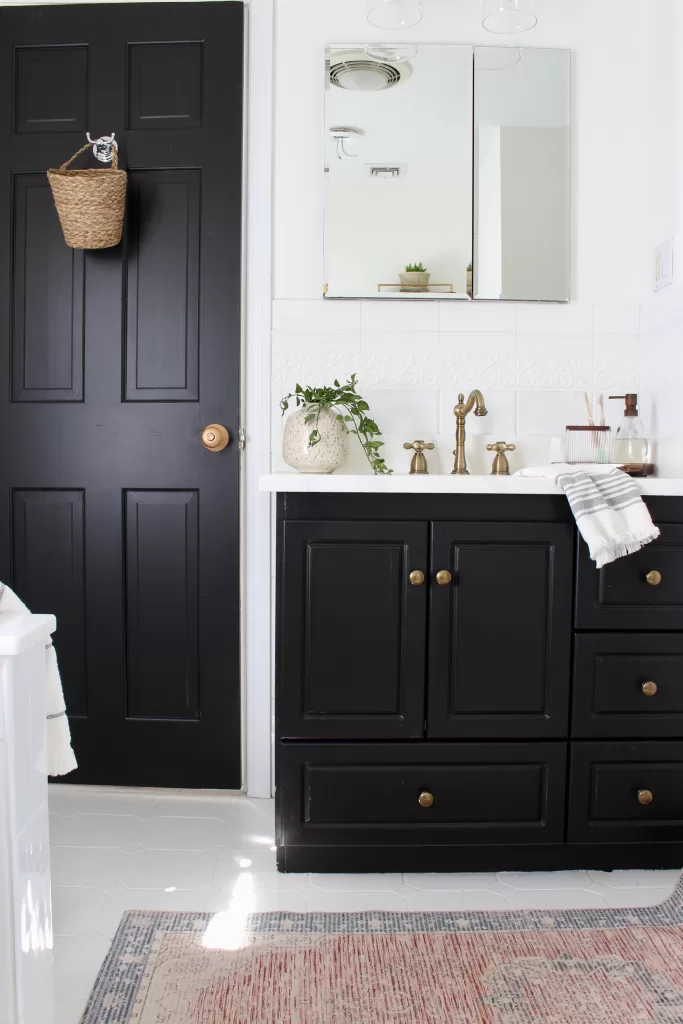
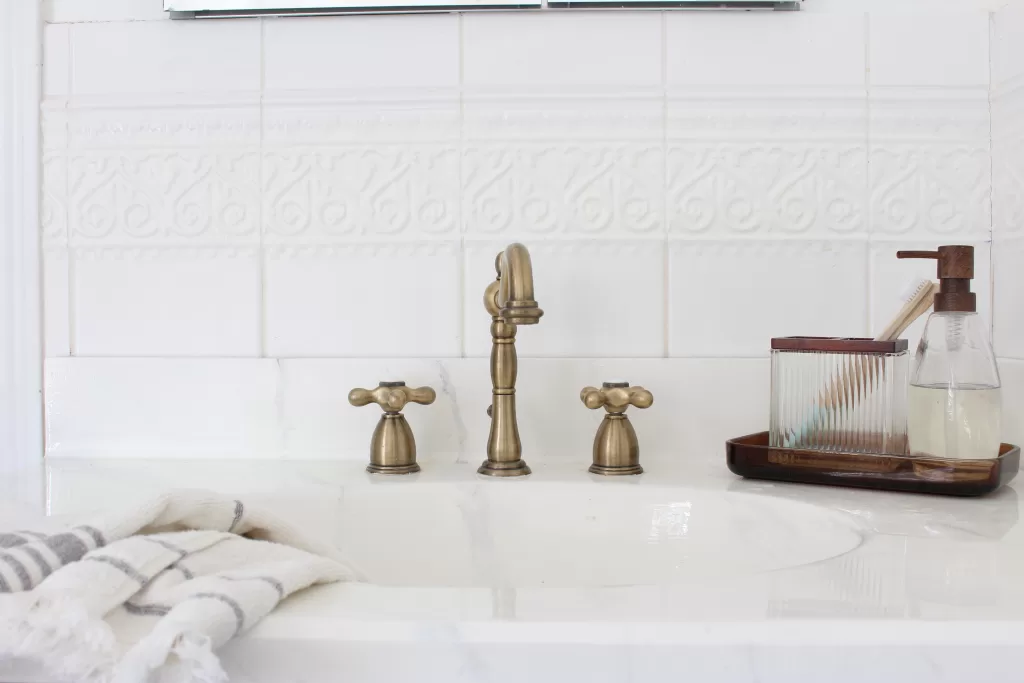

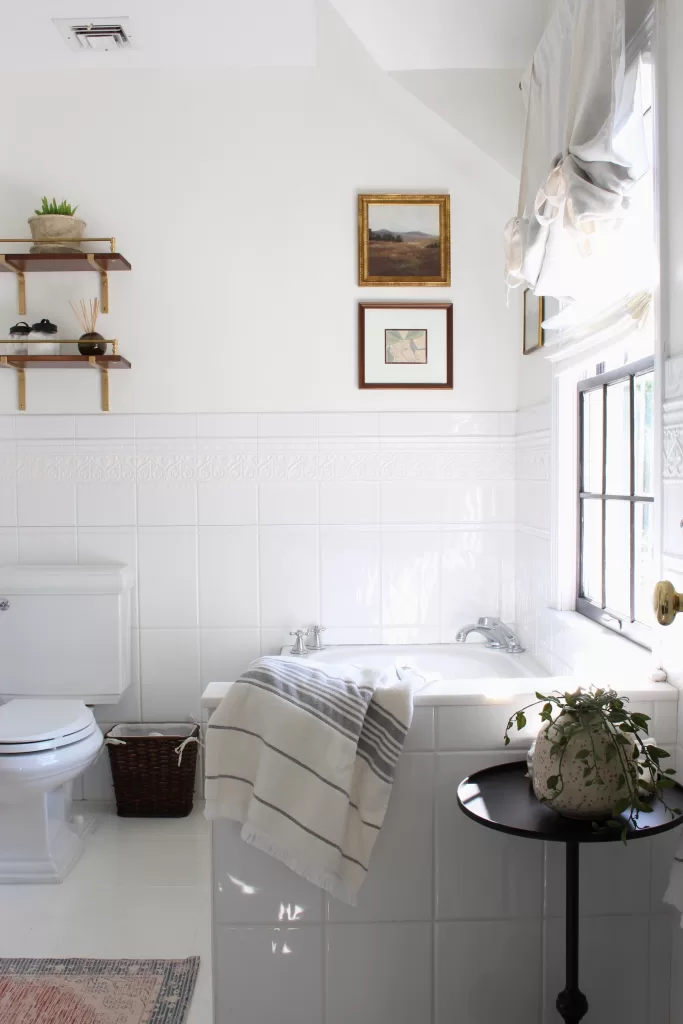

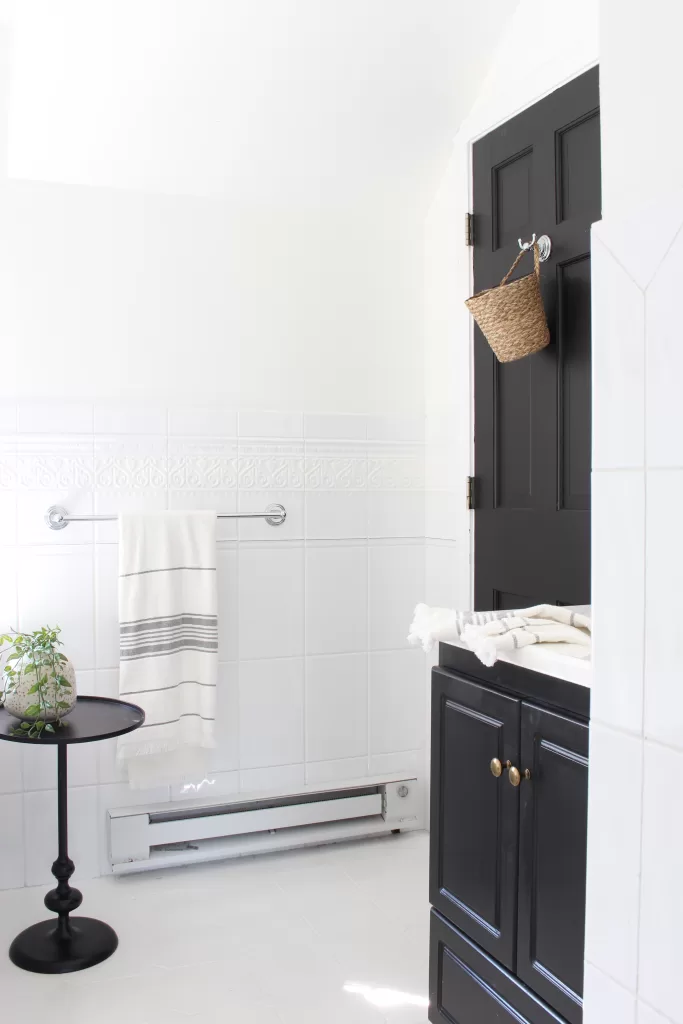
Shop my bathroom:
At the outset, my list of projects for the bathroom was:
- Paint the walls and doors with Farrow & Ball French Gray
- Epoxy the counters to look like faux-marble
- Paint the vanity, and add a new faucet and hardware
- Change out the shades on the vanity light
- Paint the floral detail on the wall tile
- Paint the navy blue floor tile detail – I’m thinking I’ll paint it black.
- Add a new pendant light, and swag it over the tub
- Add new art & accessories
- Make shelving
- Add a storage piece at the end of the tub
I mostly did all of those things, with a few tweaks.
After painting the walls Farrow & Ball French Gray, I started to feel like maybe that was the wrong choice. I love the color, but using it in this bathroom was just not the right context.
My goal was to modernize the room, which has lots of ’90s detaisl, some of which I couldn’t remove. Like the floral detail on the tile. Up against the tile detail (even after I painted it white) the sage green color still just looked as dated as the yellow didi.
So, I decided to paint the whole room white. I used BM Simply White because I had a bunch leftover from our first floor renovation. White paint will instantly make any space feel more fresh and modern, and it worked wonders in this bathroom, too.
Especially paired with the black vanity, back doors, and black window (all BM Onyx).
I also tried to only paint the blue details on the floor tile black, but that didn’t work out. Instead, I just painted the entire floor white, which you can read more about in my post.
I’m also still searching for the perfect storage piece for the end of the tub, so for now there’s just a side table there as a placeholder.
But overall, that’s it! It feels SO much better and I can’t believe it took me so long to do something about this space.
FAQS
How much did our DIY bathroom remodel cost?
Overall, the project cost just over $700. Here’s a detailed list of what everything cost
- Wall paint: $35
- Black paint for doors and vanity: $20
- Epoxy resin: $25
- Heat gun for resin project: $30
- Wayfair brass faucet: $128
- Glass shades for vanity light x 2: $10 each
- Amazon brass drawer pulls x 6: $13
- Amazon balloon shade on window: $30
- West Elm bath mat: $65
- Target wall art: $18
- Goodwill brass frame: $4
- DIY shelves: $32/shelf
- Floor paint: $40
- Paint rollers/brushes: $25
- New bath towels: $30
- Pendant light fixture: $150
- Swag light hook: $6
- Can light conversion kit: $18
Total cost: $720
Maybe it’s because I know how much free manual labor I did, but I feel like it looks much more expensive than that.


One Comment