Super Easy DIY Board and Batten Wall: Step-by-Step Guide

A DIY board and batten wall is one of my favorite ways to uplevel the look of a room. I’ve done this project twice in my own home now, once in our entryway, and a second time in our boys’ bedroom.
Both times, I did all four walls in the room, and I did it mostly on my own, with a little help here and there from my husband. Overall, it’s an easy DIY project that really makes a big impact, and if you’re only doing one wall, it’s even simpler.
Here, I’ll teach you how to install a DIY board and batten wall, including:
- Materials you need
- How to measure and plan your board and batten wall
- How to install your board and batten wall
- Tips I’ve learned for elevating a board and batten wall
Materials
First, let’s start with materials.
You’ll need:
- Painter’s tape
- 1″ x 2″ common board OR MDF boards.
- Decorative trim (optional)
- Hand sander
- Measuring tape
- Pencil
- Miter saw
- Level
- Brad nailer and 1″ nails (I LOVE my Ryobi brad nailer)
- Caulk
- Caulk gun
- Paint
A note on materials: When I’ve done board and batten, I’ve used both 1″ x 2″ common board, which you’ll find in the lumber section of Home Depot (or whatever hardware store you prefer), as well as 2″ wide trim board.
Trim board is smoother and tends to be lower profile. Overall, it looks more elegant and it comes sanded so it’s less work up front. Common board can be imperfect and it doesn’t come sanded, so you have to sand it yourself. But it’s also significantly less expensive than trim board. I chose trim board for our entryway because the space was small so I didn’t need a lot of material, but for my sons’ room I used common board because the room is large and the trim boards would have been too expensive.
Both turned out great in the end, so pick whatever material works best for your style and budget. You can also use MDF boards, which will also be in the lumber section of your hardware store.
How to Install Board and Batten
1. Plan your design

If you aren’t sure how far apart you want your battens to be, I suggest doing a mock up on the wall with painter’s tape. A good rule of thumb is to space the battens roughly 18″ apart, but anywhere from 12″-24″ is the norm. Play with the tape placement until you find a spacing you like, and note how many battens the wall will have.

Then, to figure out the exact spacing of your battens, you’ll need to know:
- The length of the wall
- The width of your trim boards (Keep in mind that trim boards are usually .5″ narrower than the size they’re listed as: i.e. 1″ x 3″ is about 2.5″ wide, not 3″ wide.).
- How many battens you want the wall to have and the number of spaces this will create.
To calculate how far to space the battens:
- Multiply the number of battens by the width of the trim you’re using.
- Subtract this number from the length of the wall in inches.
- Then divide that number by the number of spaces on the wall.
So for example, in the drawing I did above:
If you have 96″ wall, and want to use eight 1.5″ trim pieces, which creates 7 spaces on your wall.
Your equation is:
8″ x 1.5″ = 12″
96″-12″ = 84″
84″ / 7 spaces = 12″ apart
2. Install horizontal pieces

Now that the math is over, it’s time for the fun part.
If you’re installing a horizontal trim piece above your baseboard, do this first. Cut the trim piece to size, (if you’ll be doing more than one wall, miter the ends of each piece at a 45 degree angle so the boards fit neatly together), then position it on the wall with a level, and secure it with a brad nailer, adding a nail every 3-4″.
Next, install the top horizontal piece, again using a level to make sure it’s straight.
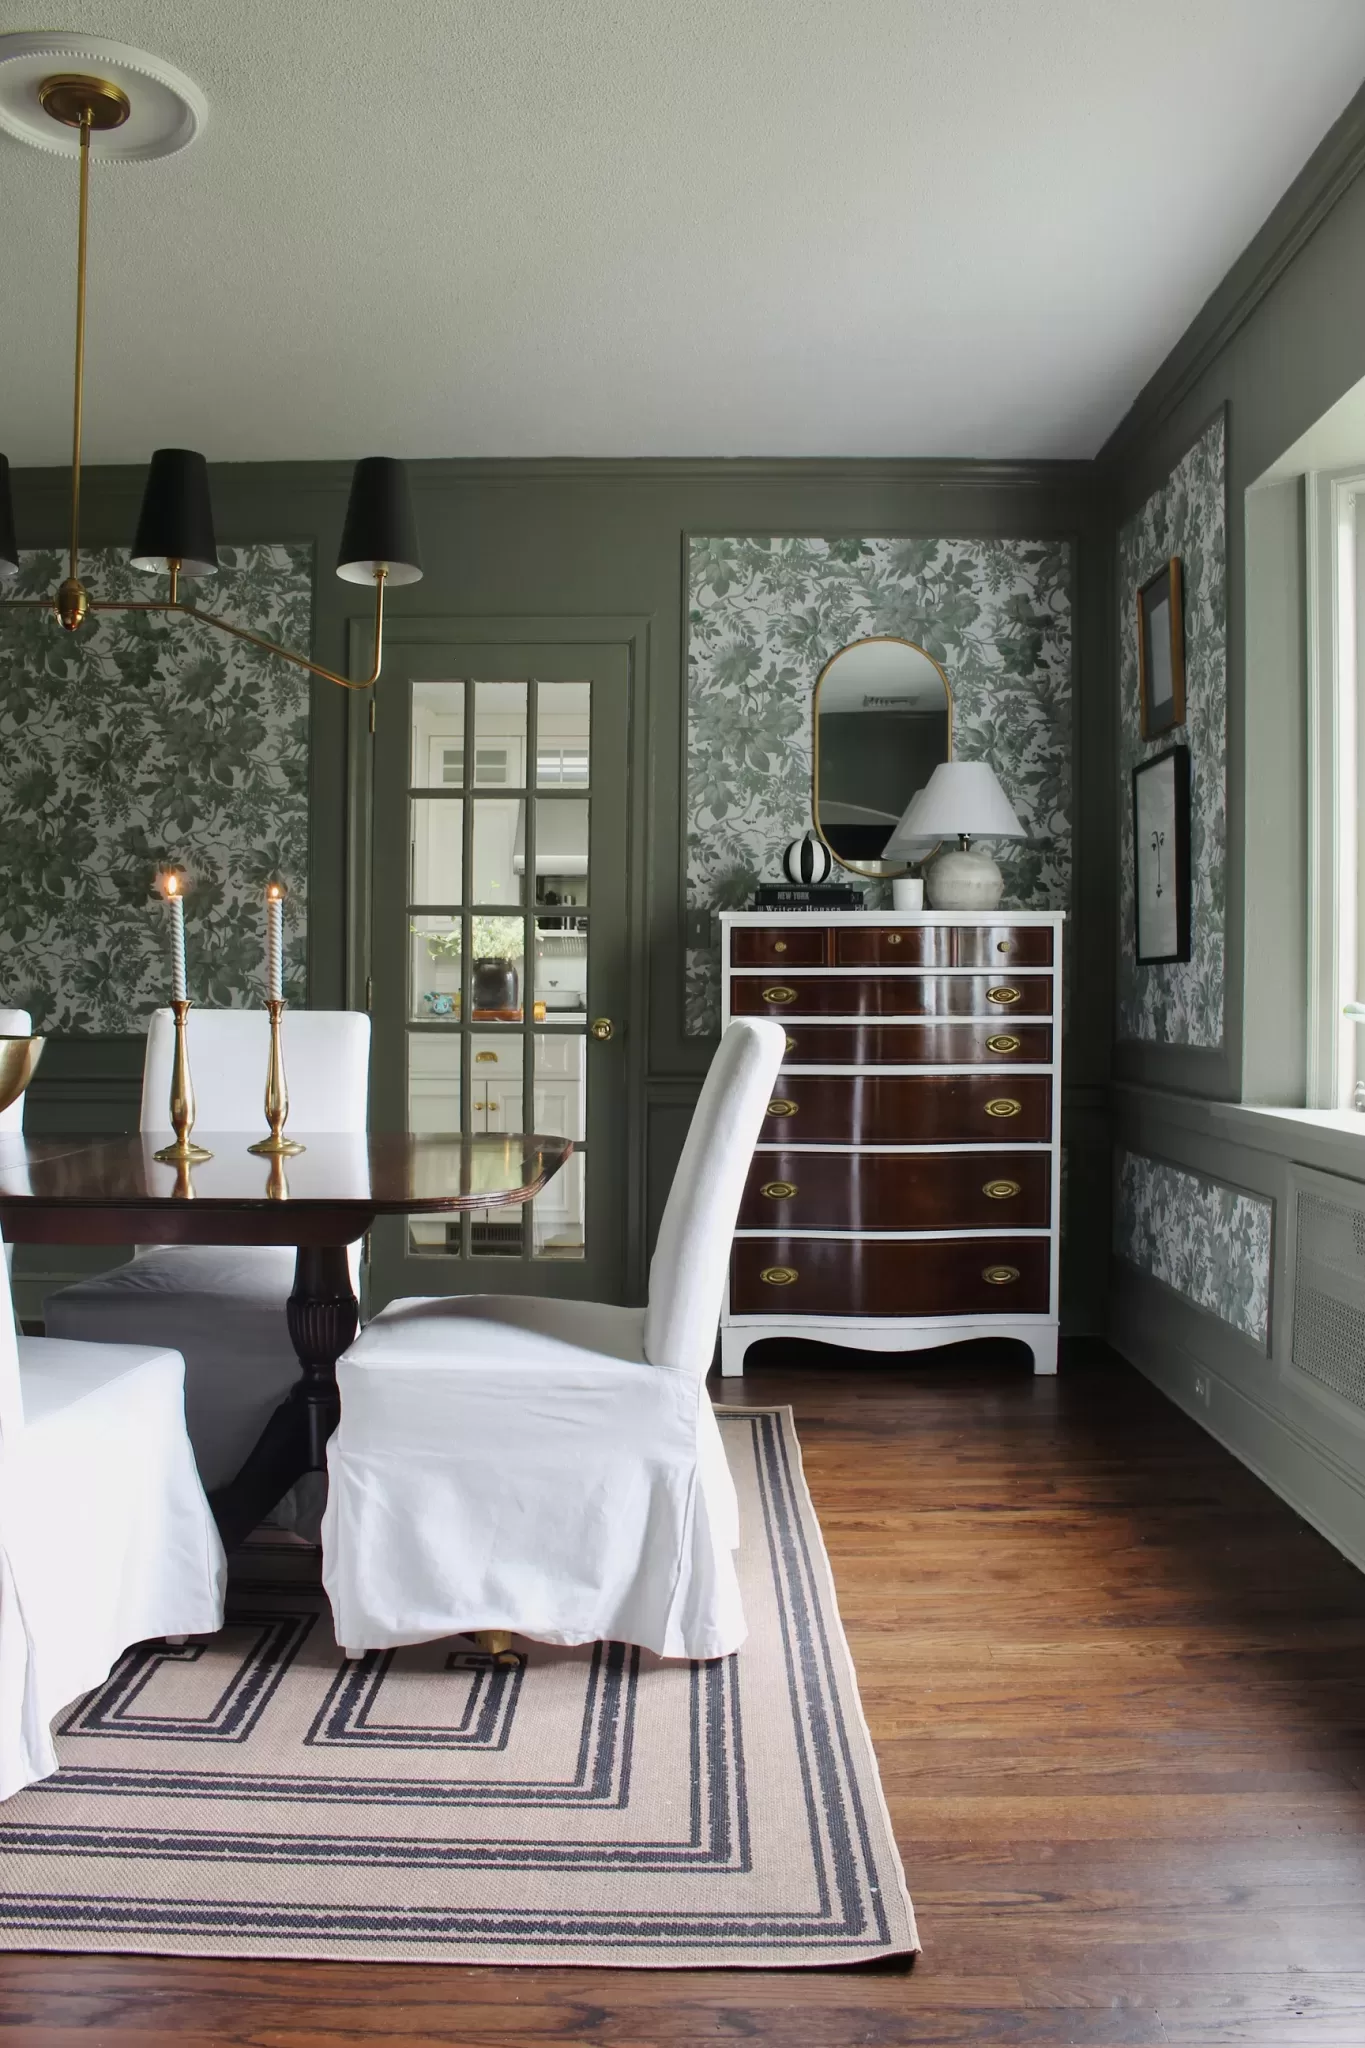
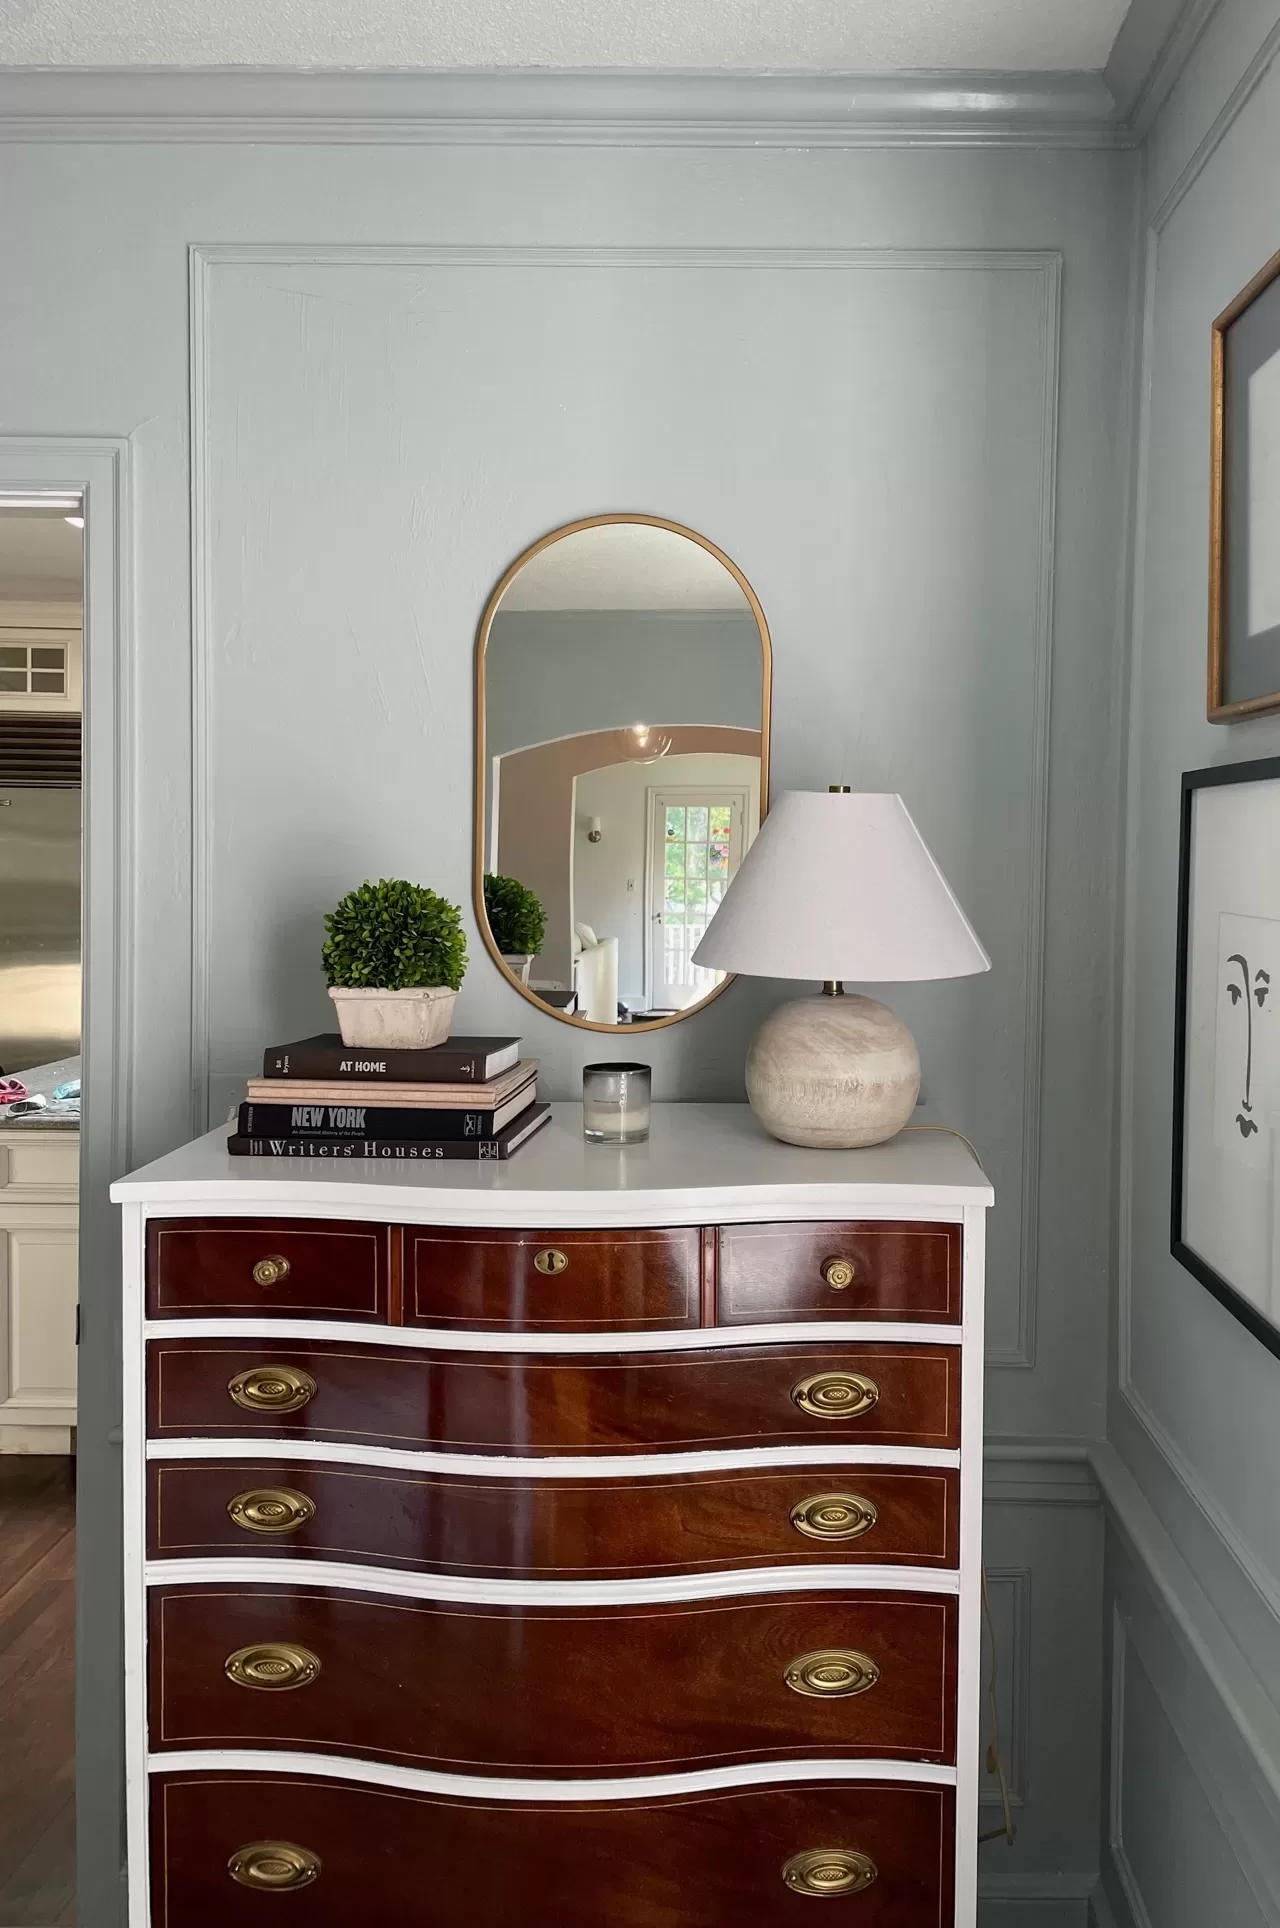
Tip: If you live in an older home with more intricate woodwork, consider adding a second layer of decorative molding above the top trim piece (see photo above). I find this makes the whole look feel less trendy and more timeless.
3. Install Vertical pieces

Measure the space between the horizontal boards, and use this as a measurement to cut your battens.
Now, measure and mark the rest of the wall for your vertical battens, using a pencil. To make this easier, add the width of the trim to the distance between each batten. I.e. if your trim is 1.5″ and your battens are 12″ apart, mark the wall every 13.5″.
Finish up by hanging each batten (a level is key once again).
If you are doing an entire room, repeat this process on the rest of your walls.
4. Caulk and sand
Once the trim is hung, use caulk gun to run a bead of caulk along each edge of the trim. Follow it with your finger and/or a damp paper towel to smooth it out.

The, use wood filled to fill in the nail holes, gaps between the horizontal and vertical pieces, and any knots or imperfections on the wood. Once the wood filler has dried, lightly sand it with a fine-grit sandpaper.
5. Prime and paint
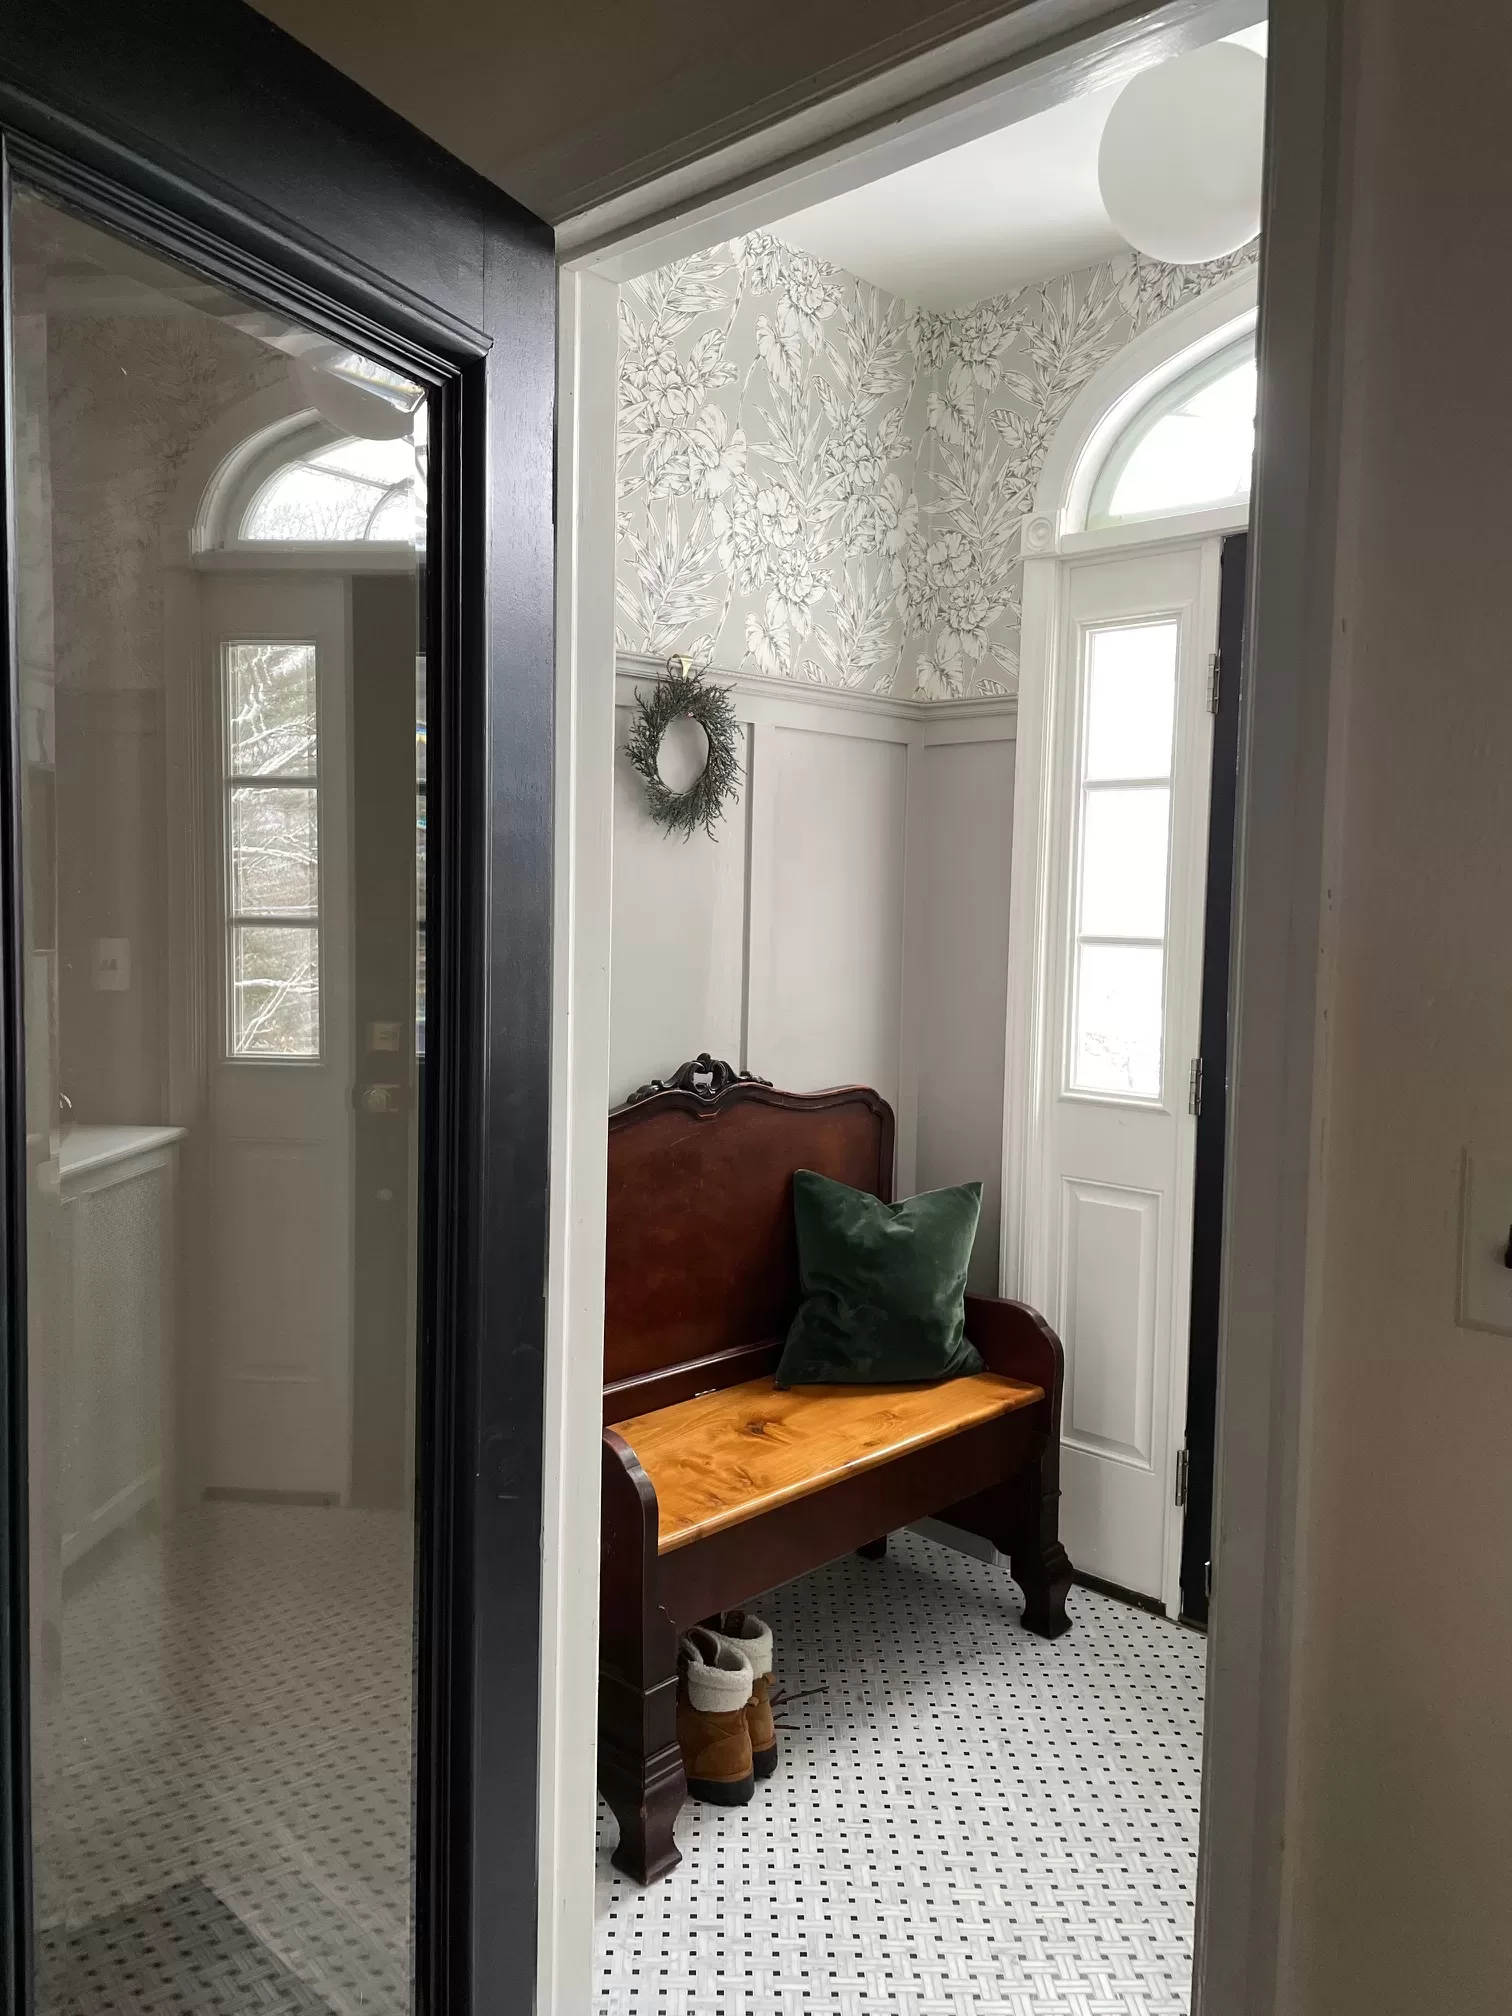
Finally, it’s time to prime and paint. If you’re using bare wood as I did, you’ll want to prime your wood first. Once that’s dry, give the whole wall two coats of paint.
You can easily do this in a single day, and the “after” is well worth the effort. Good luck!

