How to Lacquer Furniture (the Easy Way)
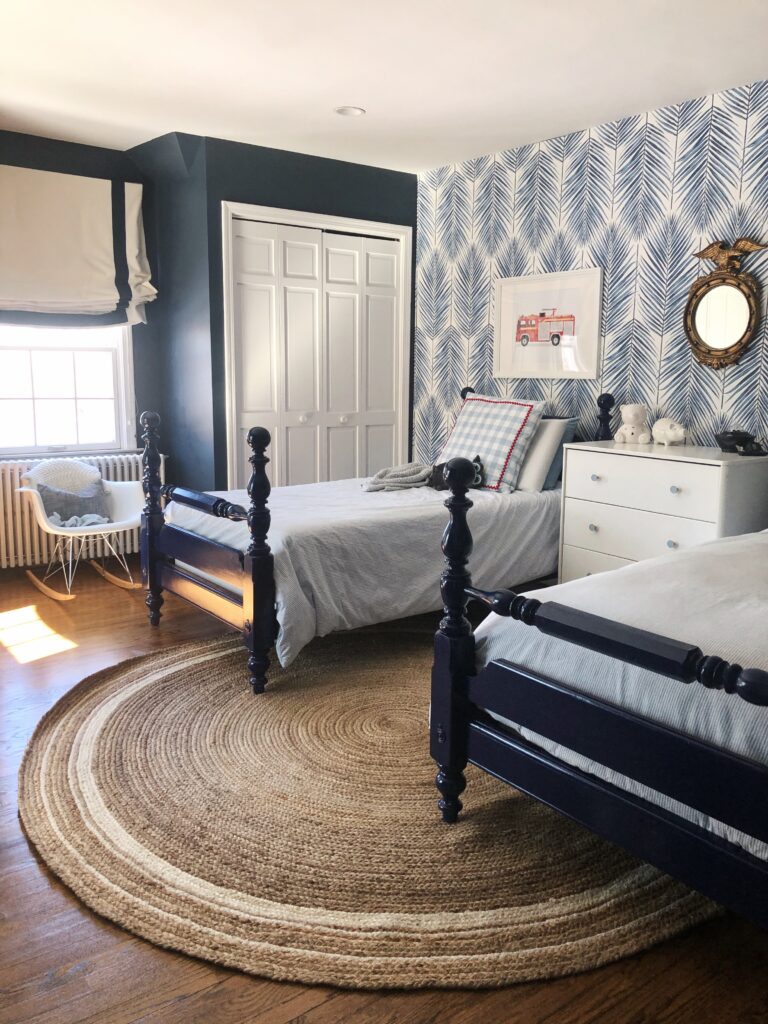
Editor’s note: I wrote this post on how to lacquer furniture in 2014, and this piece is still in my home, and I’ve never touched it up. I’ve also used this technique a bunch more times, including when I spray painted my boys’ beds. This, along with stripping furniture, is my favorite furniture makeover technique! I’ve since updated this post with information I’ve learned as I’ve honed this process. But, I left in all of the original photos as a tribute to how far both iPhone photography and my styling abilities have come.
A few weeks ago Mark and I were at the dump (I know, I know, you’re thinking “Kaitlin, you can’t start all your blog posts talking about the dump, it’s embarrassing!” I’ll cool it after this one, I promise). We were supposed to just be dropping off our trash (usual dump stuff), when I saw a guy with a pickup truck FULL of furniture pull into the swap shop. (If you don’t know about my obsession with the swap shop yet, click here). Now, even though I’d promised my husband (and myself), that I would stay out of other people’s trash that weekend, I just couldn’t not take a little peek at this potential pile of gold.
So I checked it out. And it’s a good thing I did. Because I found myself a gorgeous new media cabinet (in the rough).
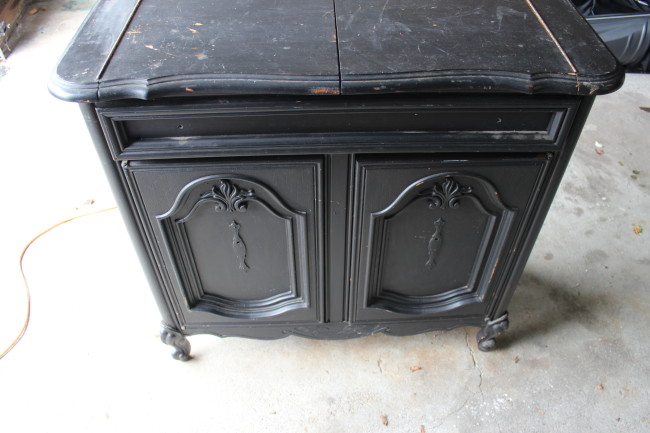
Lucky find huh? As soon as the guys driving the pickup truck had set this cabinet on solid ground, I ran over and hurled myself on top of it to stake my claim while simultaneously yelling to Mark “Pull up the car!”
So, we loaded the cabinet into the trunk and took it on home, where it sat in its future home in our living room for about a week or so while I debated what color it should become. I must have had some sort of creative epiphany during those few days, because I decided to paint the black cabinet … black. Except shiny, lacquered, smooth black, instead of chipped, dirty, old black.
After doing some googling, I realized that actual lacquering something takes way more time than I was willing to dedicate to this project, but luckily, I was able to find a workaround in the form of one of my favorite things, spray paint. All in all, this project took me about four hours.
How to lacquer furniture the easy way
Here’s how this:
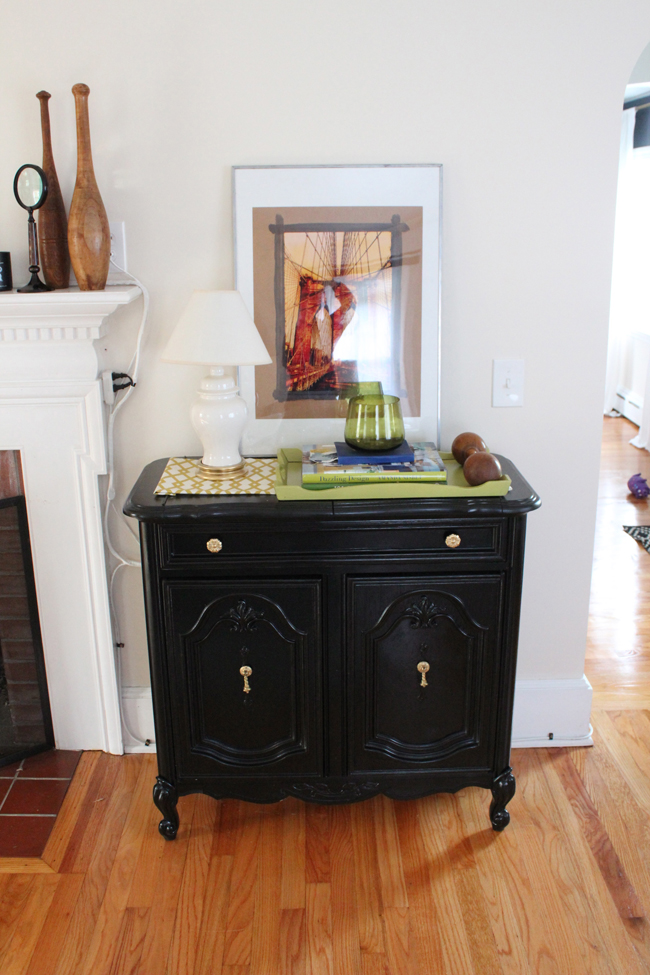
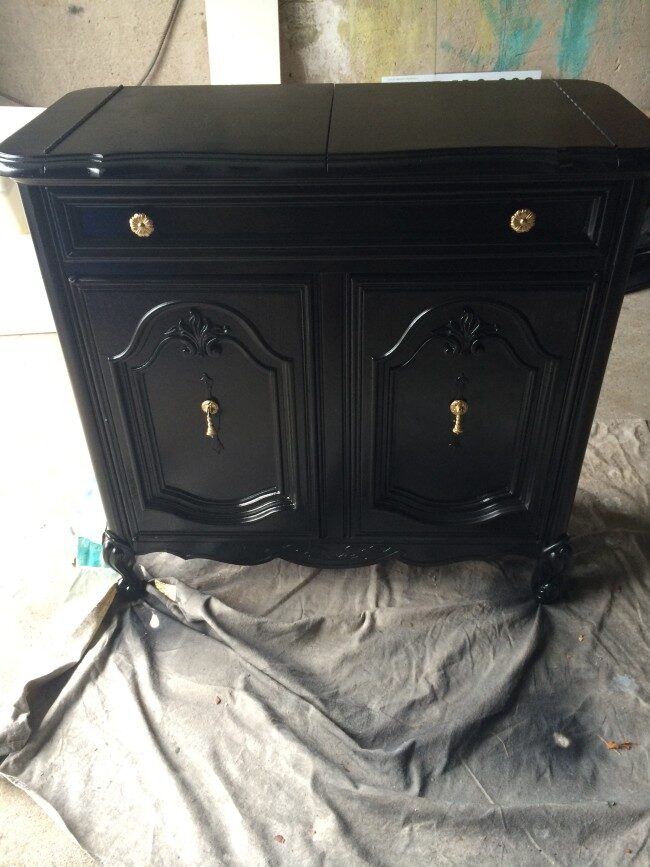
Became this:

Materials:
-A mask (get one specifically designed for spray paint and fumes if you can, and make sure to work outside, or in a well-ventilated space)
–A drop cloth
-A hand-held sander
–Sandpaper
–A microfiber cloth
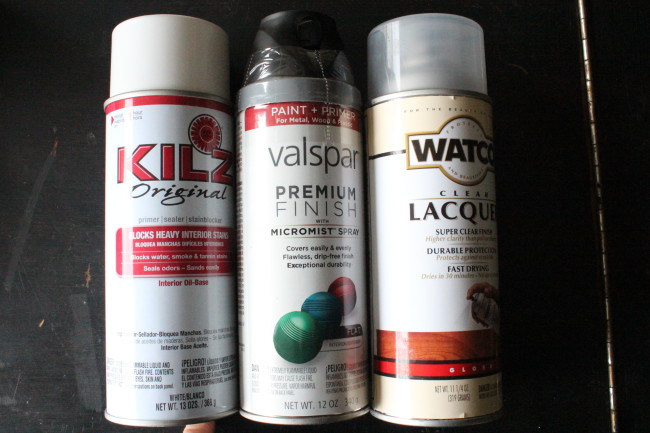
–Spray-on primer – I used Kilz, from Lowe’s
-Spray paint – I used Valspar Premium, from Lowe’s
-Clear, high gloss spray lacquer OR high-gloss polyurethane- I used Watco Clear Lacquer in a gloss finish, also from Lowe’s, but have also used the Rustoleum version, both to great effect.
Step 1: Remove the hardware. The hardware on this piece was nasty, so I put it in a small bowl of vinegar, where it sat while I did steps 2-6.
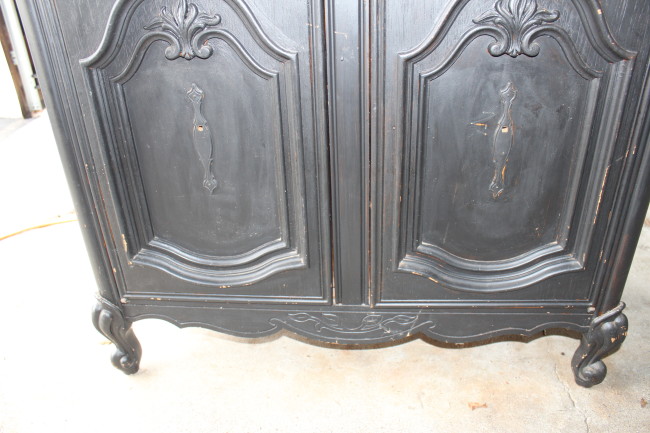
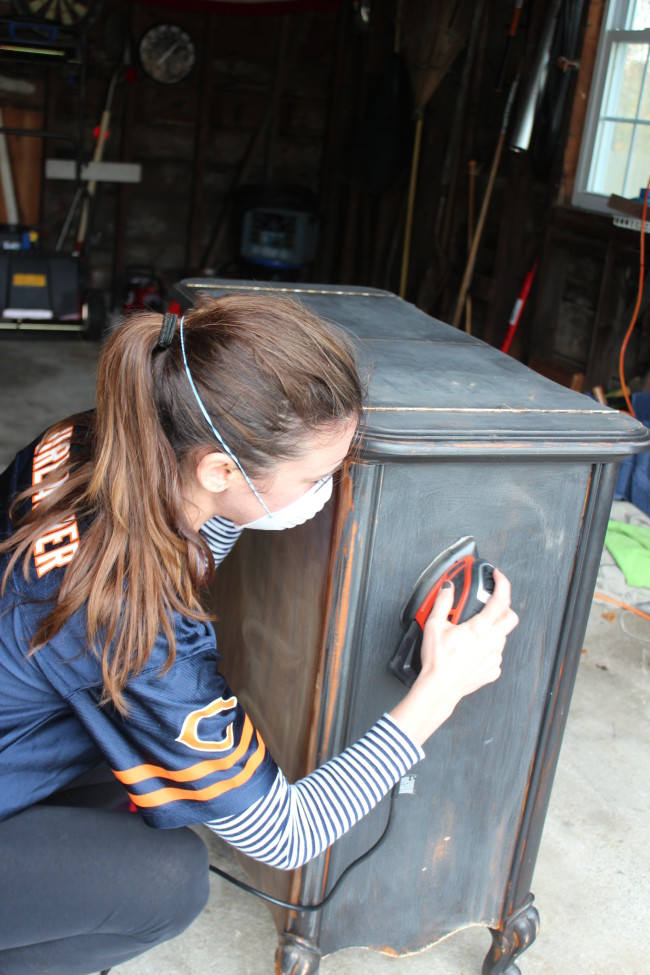
Step 2: Put on your mask. Sand the entire piece until chipping paint and rough surfaces are smooth, and any previous finish is no longer shiny. To make things easier, I used a power sander for the top and sides, and did the cracks and carvings by hand.
Step 3: Wipe away dust using a damp cloth, followed by a dry cloth. Before priming, I taped a piece of a disposable plastic drop cloth to the inside edge of the cabinet to prevent paint from getting in, since I didn’t want to paint the inside.
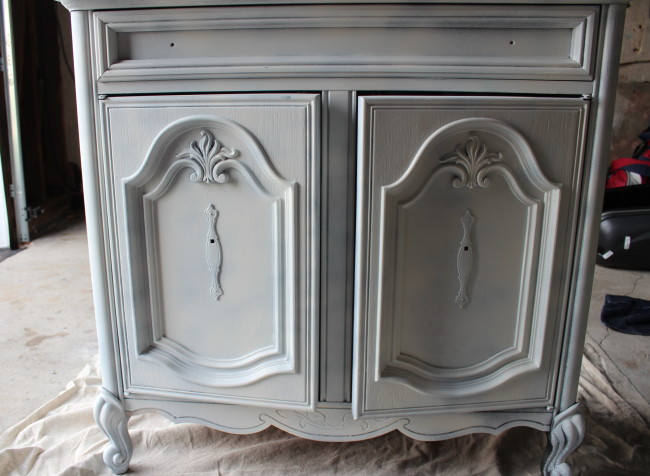
Step 4: Spray the entire piece with primer, following instructions on the back of the can. I applied two coats, which worked fine because I was painting black furniture black, and wanted the primer more to help the paint adhere than to cover up the old color.
Step 5: Once primer is dry (about an hour), you’re ready to paint. I used black spray paint, and worked in thin coats to prevent drips. It look 4 coats, plus some spot-touch ups to get the entire thing an even color. Since spray paint dries fast, this part goes pretty quickly, because by the time you’re finished with one coat, it’s pretty much time to start another. (I got so into my work that I forgot to take pictures of this part, but hopefully you can just visualize this part in your head :). )
Step 6: Once the paint is completely dry — I waited about a half hour after the final coat to paint to be sure — it’s time to apply the lacquer. Again, it’s best to work in thin coats for this, and one of my best spray painting tips for furniture is to make sure your coats overlap. Spray lacquer takes a little longer than spray paint, because you have to wait a bit more for it to dry between coats. I did two coats total, plus touch ups.
Update: I have also used clear, high gloss polyurethane for this step. Sometimes, it’s easier than spray painting furniture if you’re covering large areas. When I do use Polyurethane, I use the water based kind that requires three coats because I find this to be the easiest to work with.
Step 7: Since the hardware had been sitting in vinegar for a few hours at this point, I was able to get it pretty clean with a few wipes of a sponge. But, because it still wasn’t as sparkly as I wanted it to be, I coated it lightly with gold spray paint.
Step 8: On the lacquer can, it’s suggested you wait a week before putting the piece to regular use, so I let it sit in my garage for a few days. Then, I reattached the hardware, and brought it inside.
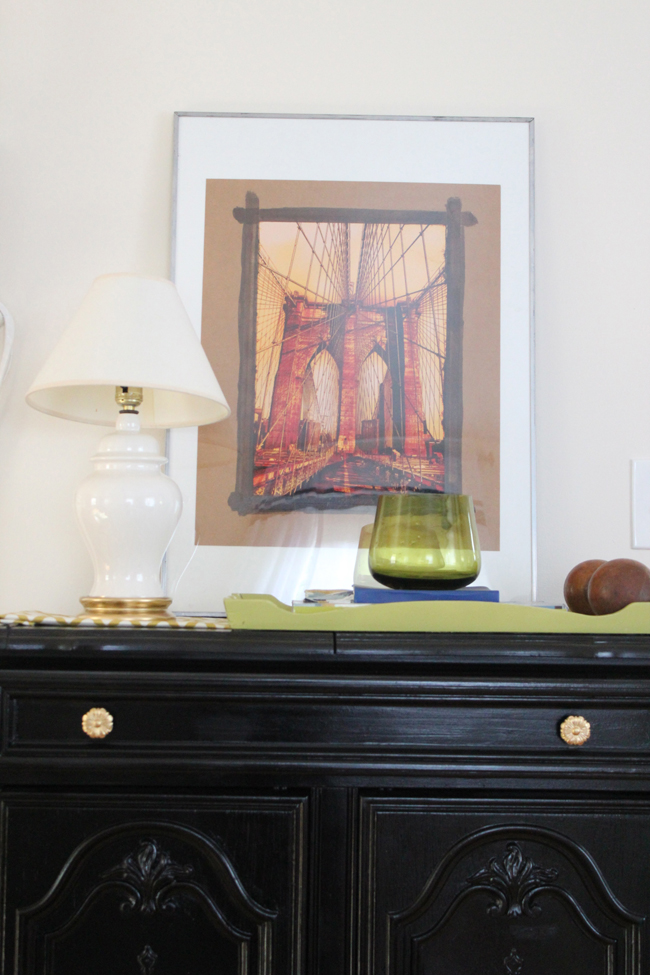
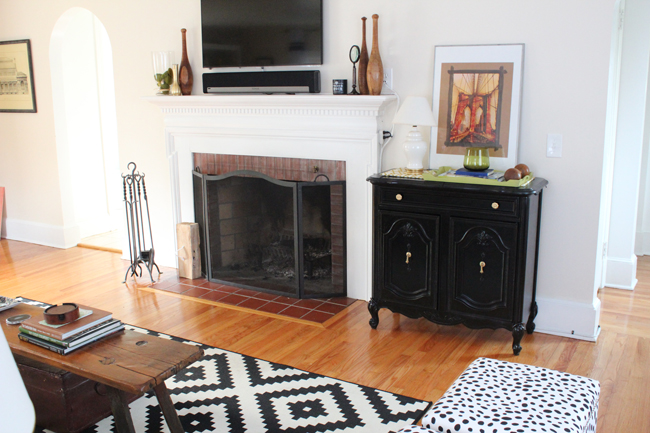
And here she is! Now our cable box and speakers are tucked away in this lovely little cabinet.
I’m going to be switching out this wall art as soon as I can find something better since this piece doesn’t go with my color scheme at all.
Look, ma, no clutter! (Just need to do something about those wires…)
That’s it!








Fantastic post but I was wondering if you could write a litte more on this topic?
I’d be very grateful if you could elaborate a little
bit further. Appreciate it!