Our Primary Bathroom Makeover [ORC Week 1]

I’m excited to share that I’ve decided to participate in my first-ever One Room Challenge … although I’m coming in a few weeks late. I recently started working on a “no-demo reno” of our primary bathroom, and it just so happened to coincide with the timing to the One Room Challenge, except I didn’t realize that until after it started. So, I’m just going to participate starting now.
A little backstory on the space: our primary bathroom has been yellow & hideous since we moved in. My husband is the kind of person who is a “do it once and do it right” kind of guy, so he wanted to wait to do anything to the bathroom until we could fully gut it and make it our dream bathroom. But after renovating our entire first floor last year, we need to save for a while before tackling another pricey home remodel.
Here are a few “Before” photos:
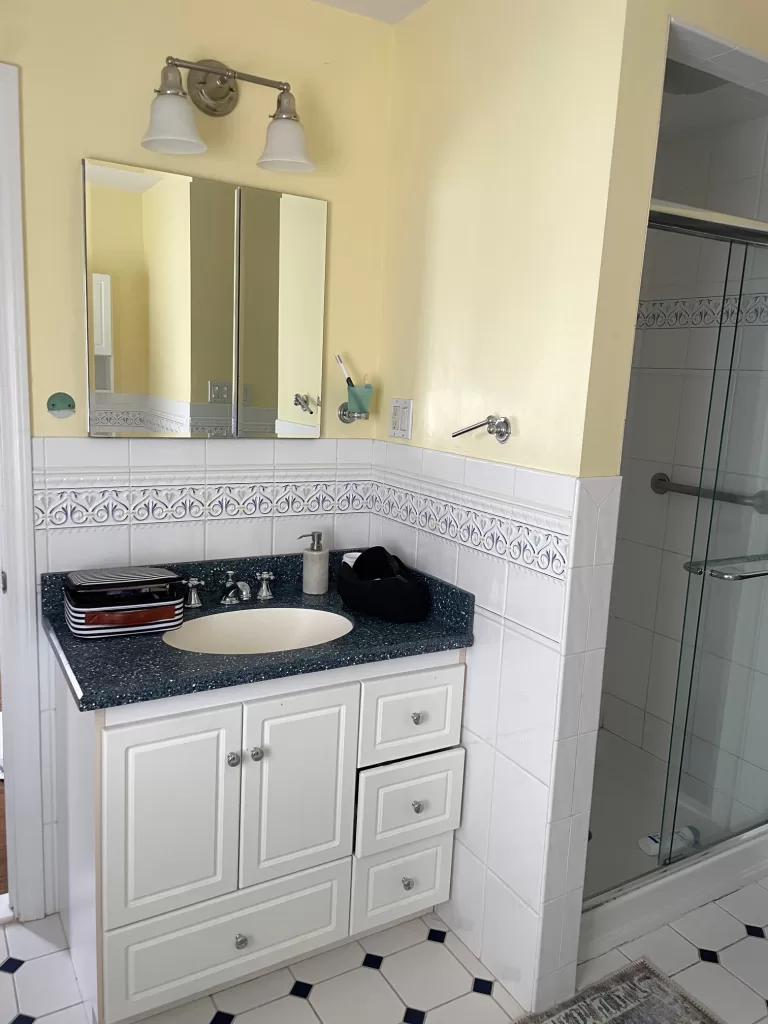


And after almost 5 years of living with this bathroom, I couldn’t take it anymore. So, I decided to do a “no-demo reno,” to update what was in the room without replacing anything.
This means lots of paint, a faux-marble countertop with epoxy (you’ve seen it on IG, I”m sure!) , new hardware, new lighting, accessories, etc. I also want to do the whole thing for around $750, if possible, which I think is actually pretty realistic.
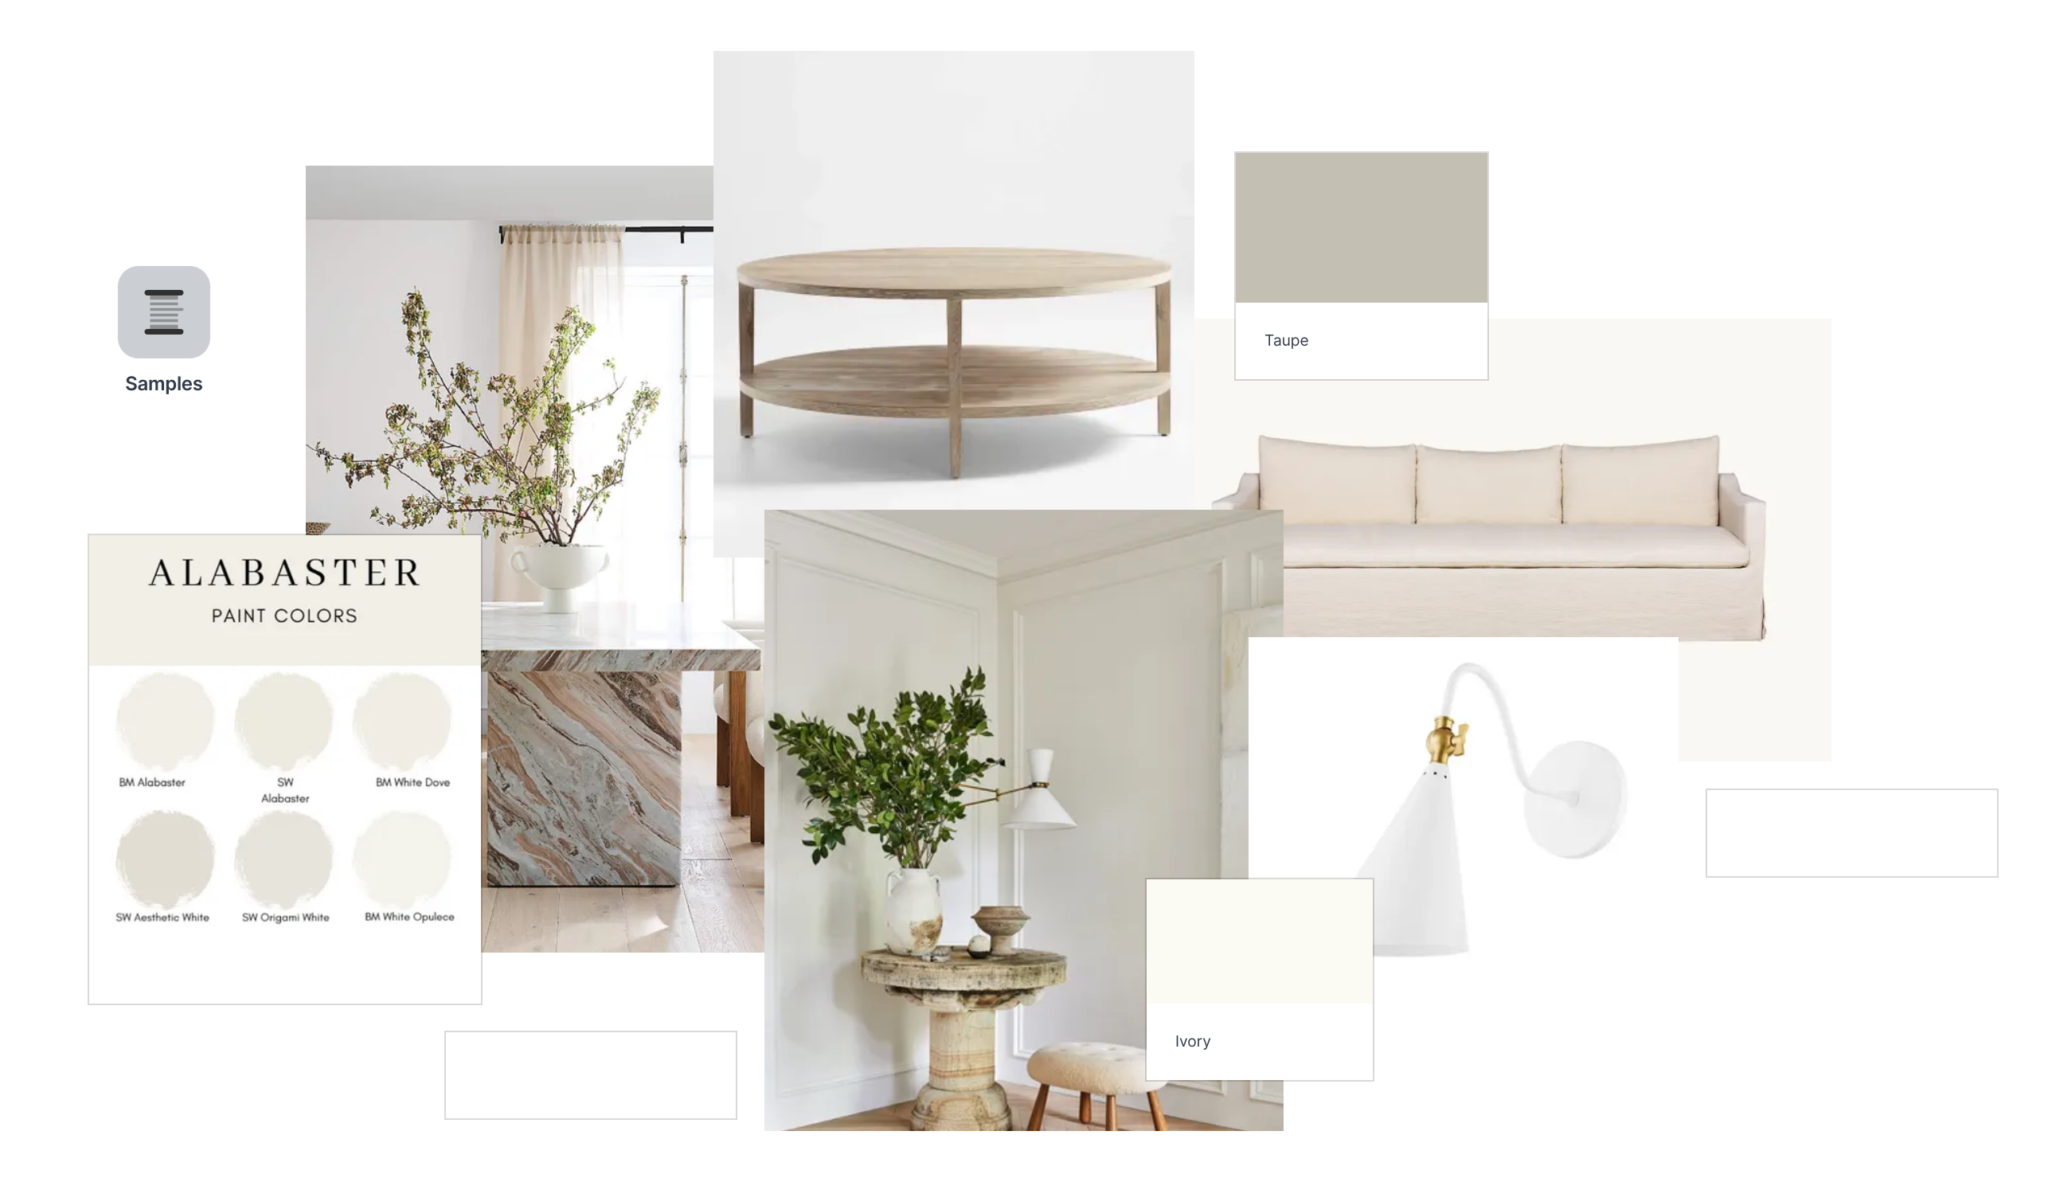
Here’s a quick mood board of what I’m thinking.
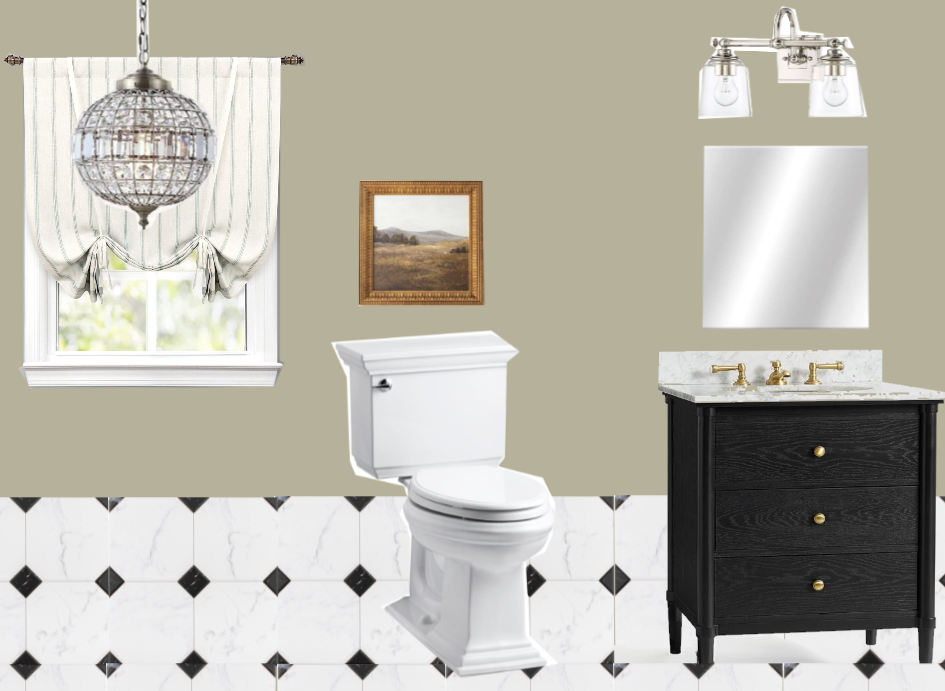
No-Demo Reno Plans
- Paint the walls and doors with Farrow & Ball French Gray
- Epoxy the counters to look like faux-marble
- Paint the vanity, and add a new faucet and hardware
- Change out the shades on the vanity light
- Paint the floral detail on the wall tile
- Paint the navy blue floor tile detail – I’m thinking I’ll paint it black.
- Add a new pendant light, and swag it over the tub
- Add new art & accessories
- Make shelving
- Add a storage piece at the end of the tub
As far as ORC goes, this makeover may be on the less-intense side, but I feel like it will make a big difference in the space!
Stay tuned!

One Comment