My Epoxy Countertops Before and After Photos
Here’s my Epoxy Countertops: Before & After, plus a few pros and cons I’ve learned after living with them for six months.
Would you like to save this?
A few months ago I gave our primary bathroom a budget-friendly glow-up which included an epoxy countertop makeover for our bathroom vanity.
I’d seen epoxy countertop remodels before, and they always looked great in photos, so I figured my old, ugly bathroom vanity was the perfect test-subject for the project.
To prepare, I watched all the YouTube videos I could find, and gathered my supplies, which actually wasn’t all that extensive.
I was able to find everything I needed at Home Depot, including paint, an epoxy kit, and the all-important heat gun, which was needed to eliminate any air bubbles in the epoxy while it cured.
I decided to go for the faux marble epoxy countertop look, which, looking back, was probably the riskiest type to try, since it required more advanced art skills to paint the “marble” veining. But it actually came out great! You can read more about how I made my faux marble epoxy countertops here.
If you’re curious about how things started vs. how they turned out, here’s a look at my epoxy marble countertop before and after, plus an update on how they’re holding up six months later.
Epoxy marble countertop before and after
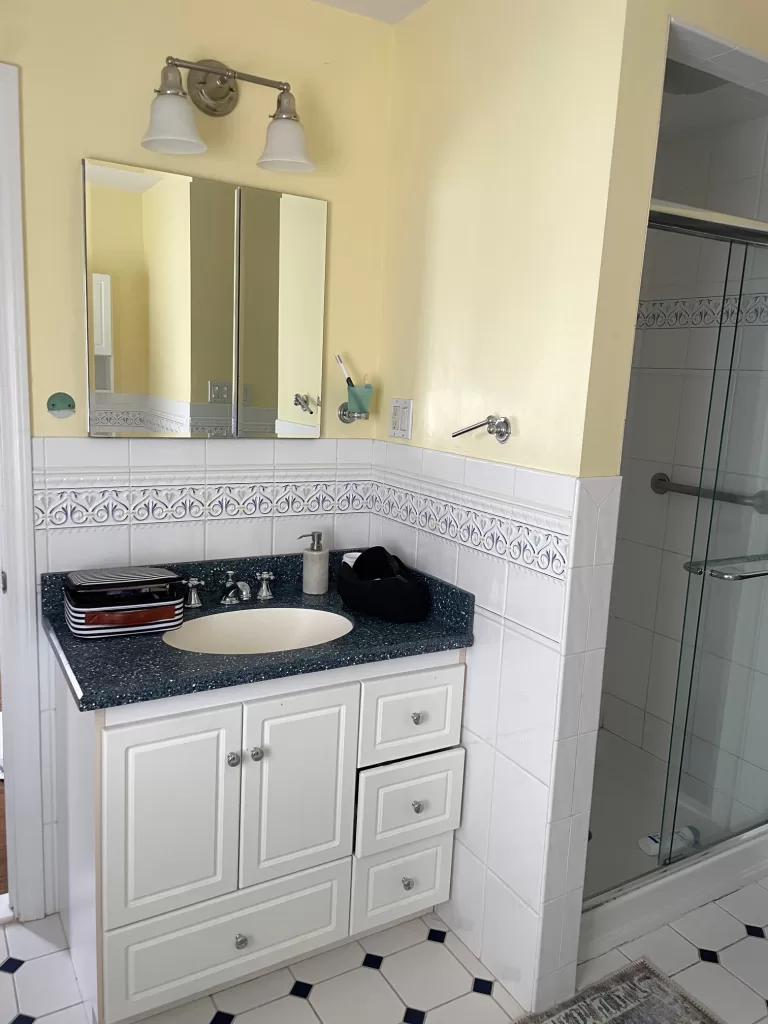
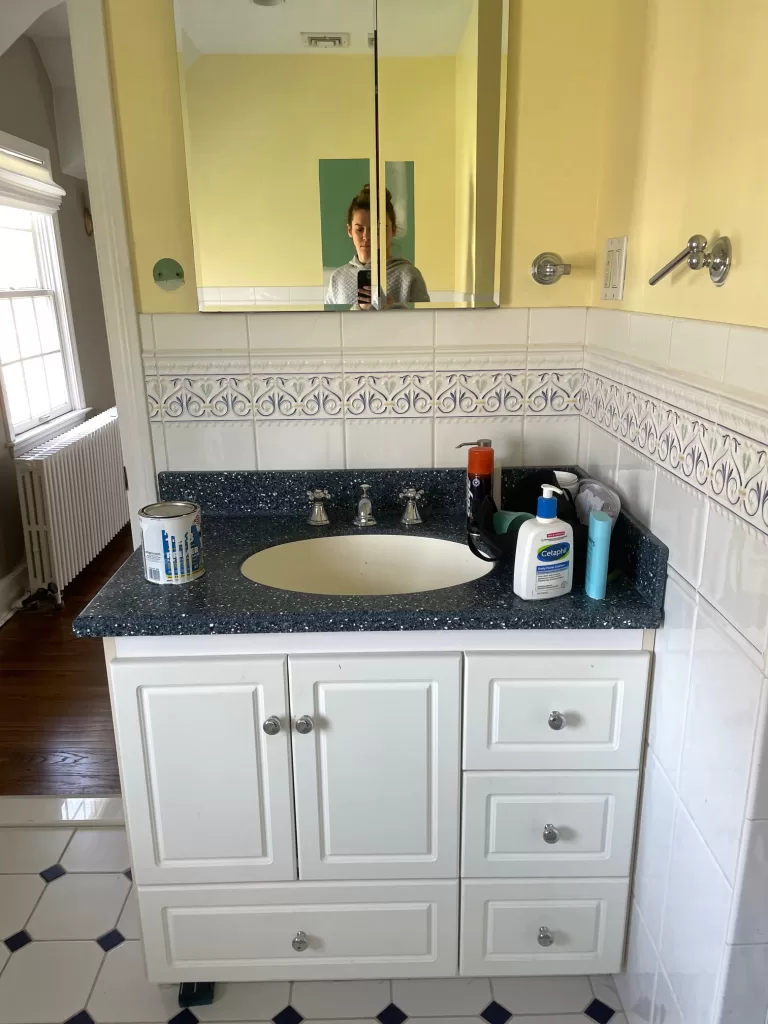
The Before:
I’m honestly not sure what type of material my vanity countertop is made from, but I think it’s a synthetic solid surface. It was an awful blue color, with a terrazzo-style design. All around, the look was just dated.
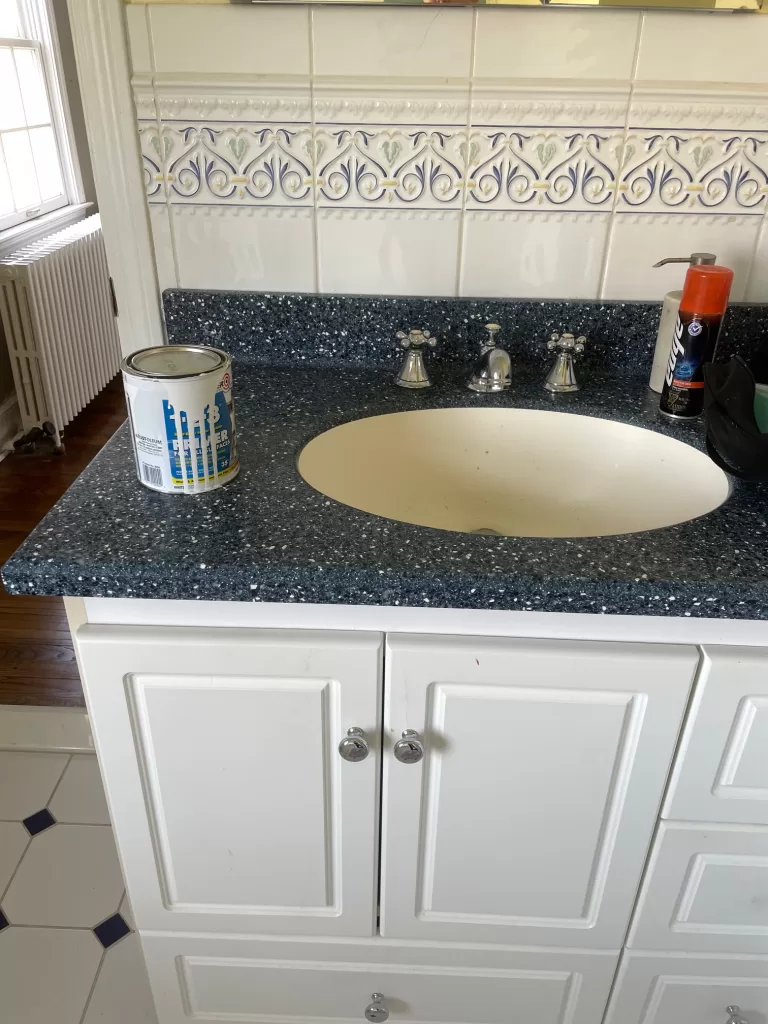
I pepped the surface by cleaning and sanding it, then painting it with a primer. That did the trick, and the paint and epoxy adhered without any issue.
I used a few shades of gray paint, different sized paintbrushes and a makeup sponge to achieve the marbled look I was after, and once it was at a point where I liked it, I let the paint dry, and followed with the epoxy.
Which brings me to …
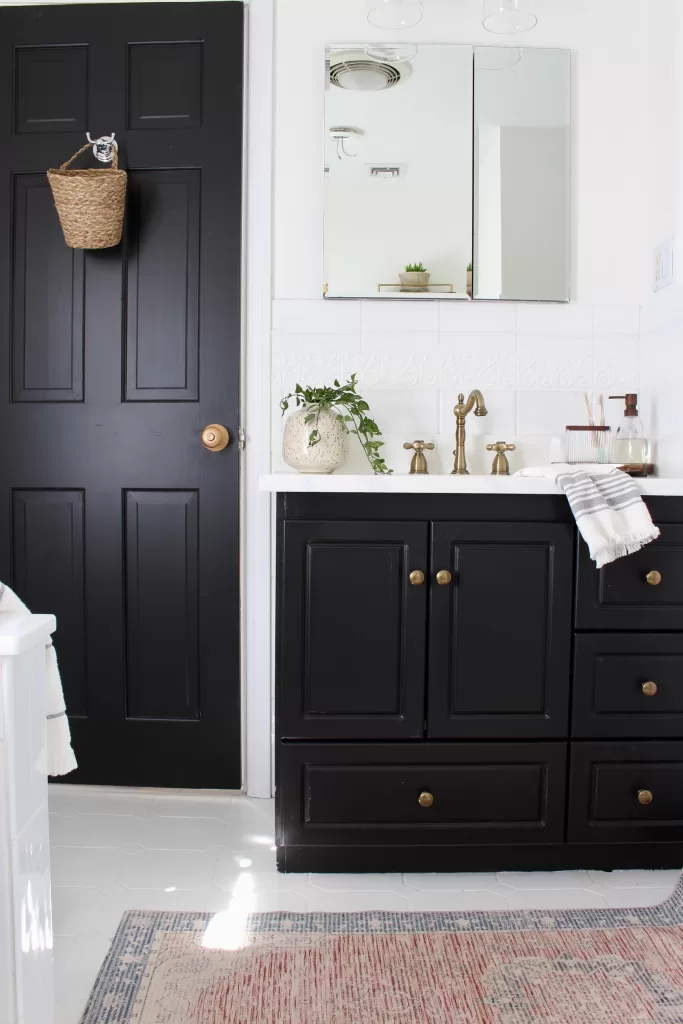
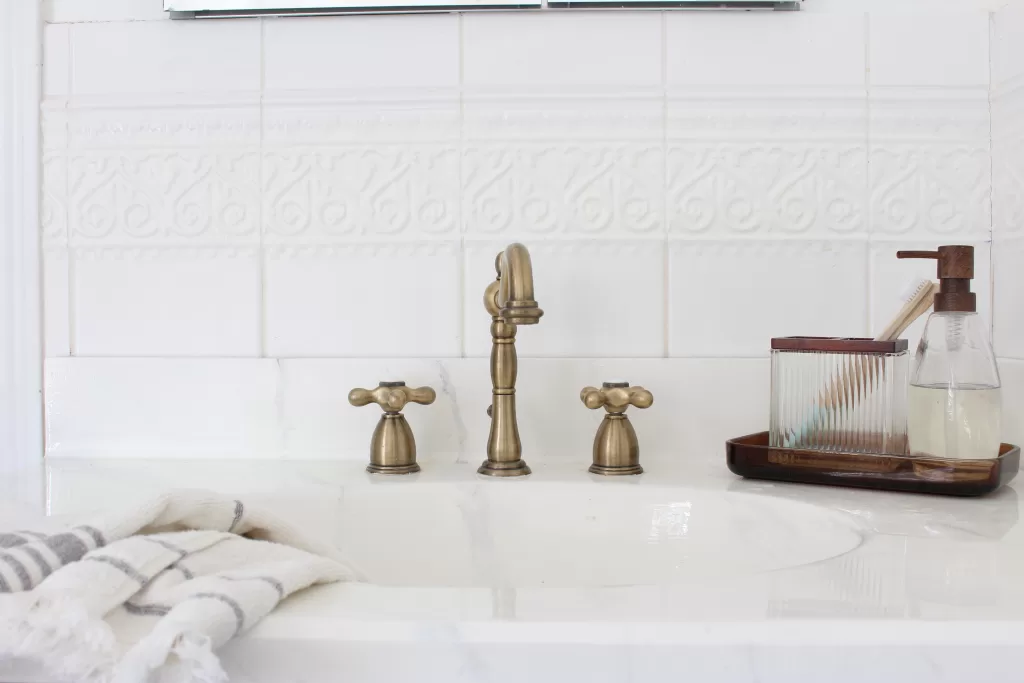
The After
Here’s what my epoxy countertop looked like right after it was done.
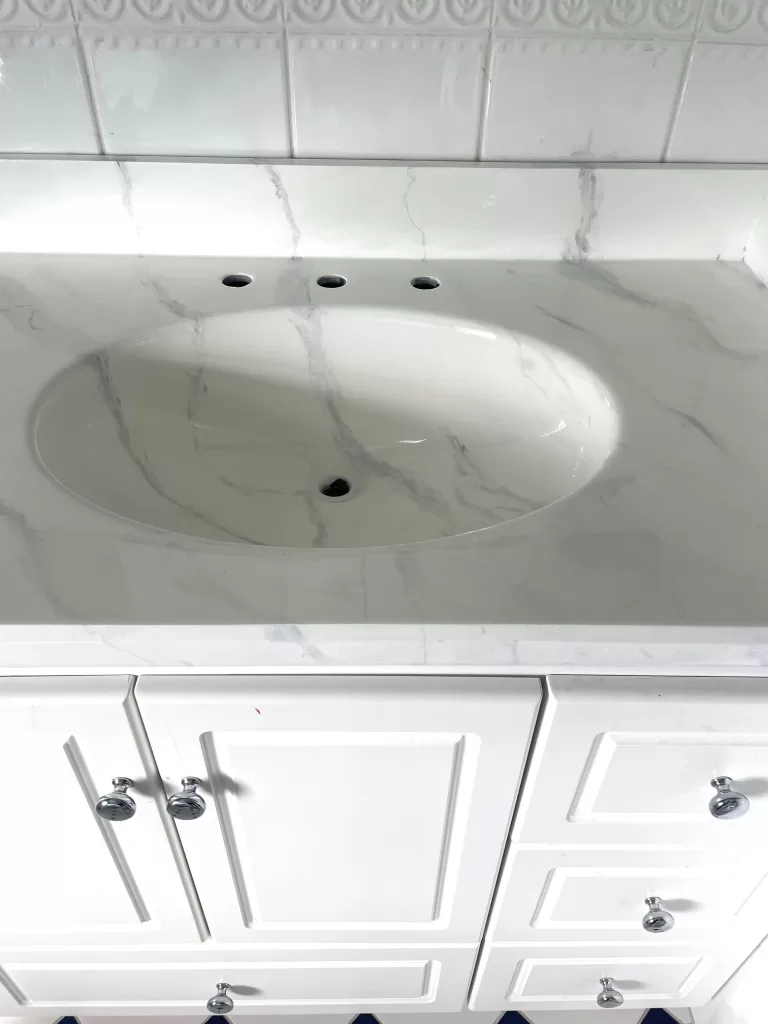
I was actually pretty impressed with myself when it was finished. While it doesn’t look like real marble, it passes for a marbled-quartz from a distance and definitely doesn’t scream “DIY!” which I was a little worried about.
Here’s a video:

My goal for the project was to extend the life of my vanity (and the bathroom overall) for a few more years until we could properly renovate it, and this countertop definitely helped my achieve that goal.
How do epoxy countertops hold up?
My one major concern with doing epoxy countertops was that they wouldn’t hold up, especially to things like a hair straightener or curling iron being placed down on them, and cleaning the bathroom sink so frequently.
Overall, though, they have held up really nicely over the last six months. While I definitely don’t place my curling iron directly onto the counter, I do set it down on the little clamp/stand that holds it up and it’s always been fine. Same with my straightener, which I do set down directly on the counter. No warping or melting. It also holds up well to being cleaned, and I haven’t noticed any scratches or wearing at all.
The one thing that I’ve found epoxy counters are prone to is discoloration, though, so I make sure to be careful with that. My counter seemed to be getting stained by my mouthwash, of all things, so I made sure to rinse the sink after using it, which has helped. I’ve also heard about epoxy counters yellowing, which I have also noticed, but only slightly. Overall, I still love the look and am so glad I took a risk on this projct!